帝王谷资源网 Design By www.wdxyy.com
下面的教程将介绍如何把一张非常陈旧的照片还原,包括照片的修复及色彩的还原。作者介绍的非常详细,修复的也非常完美。想学的朋友可以尝试一下。
原图
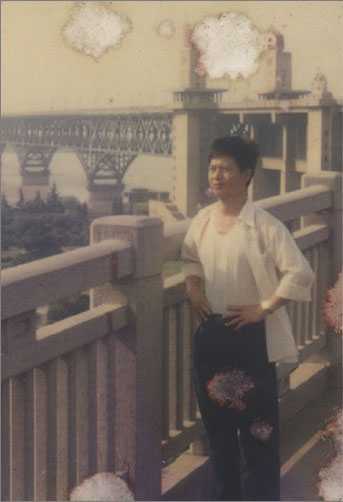
<图1>
最终效果
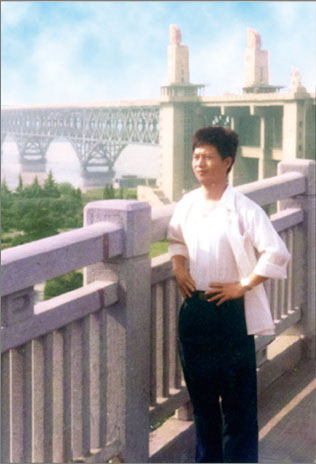
<图2> 一、修复照片的破损区域 1、运行Adobe Photoshop CS4软件,执行菜单:“文件”/“打开”(快捷键Ctrl+O),打开素材,把“背景”图层拖到面板下方的 创建新图层按钮处,复制出“背景副本”,如图3所示。提示:在复制出来的照片上进行编辑操作,可以避免操作失误无法退回原始状态。
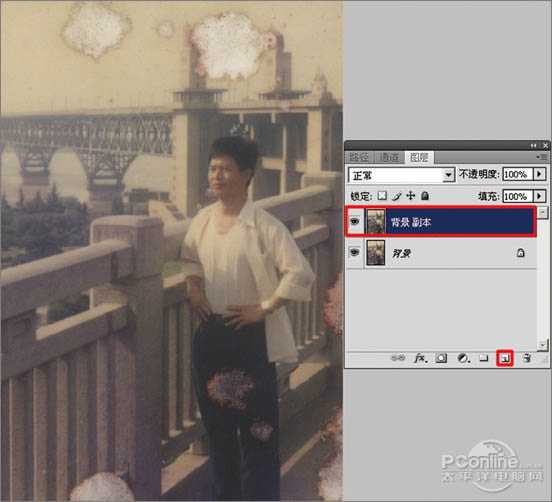
<图3>
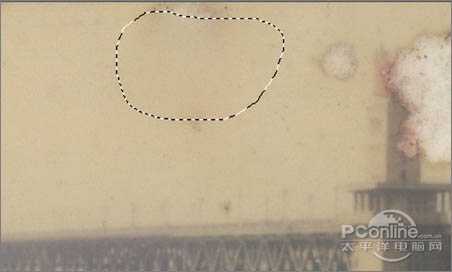
2、选择工具箱中的 修补工具,在要修补的位置描绘出选区,如图4A所示。按住鼠标左键,拖动这个选区到相似色之中,如图4B所示。释放鼠标,完成选区修补并按组合键Ctrl+D取消选区,如图5所示。提示:对于破损面积比较大的区域,可以直接使用修补工具选择,然后拖动到相近颜色区域以完成初步修复。
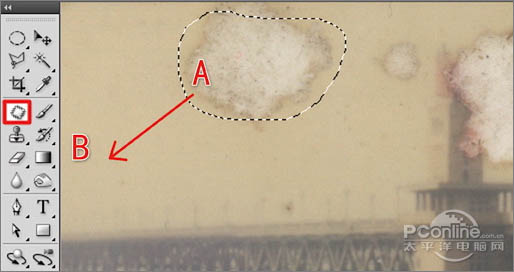
<图4>
<图5>
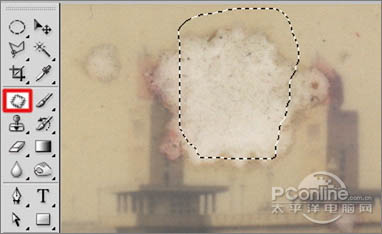
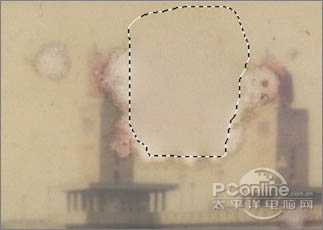
3、选择工具箱中的 修补工具,选择破损比较严重的桥塔中间部分,如图6所示。用鼠标左键拖动这个选区到相似色之中,释放鼠标完成初步修复,然后按组合键Ctrl+D取消选区,效果如图7所示。
<图6>
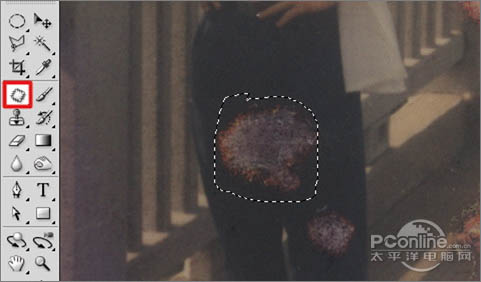
<图7> 4、选择工具箱中的 修补工具,选择人物裤子中破损较严重的区域,如图8所示。用鼠标左键拖动这个选区到相似区域之中,释放鼠标,完成此区域的初步修复并按组合键Ctrl+D取消选区,效果如图9所示。
<图8>
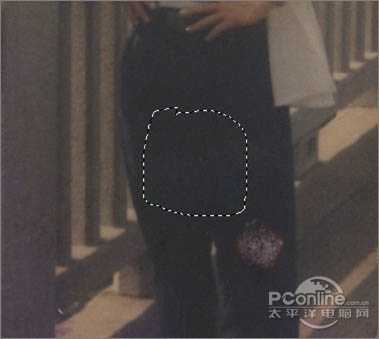
<图9>
5、选择工具箱中的 修补工具,选择人物裤子膝盖处破损较大的区域,如图10所示。用鼠标左键拖动这个选区到相似区域之中,释放鼠标完成该区域修复并按组合键Ctrl+D取消选区,效果如图11所示。
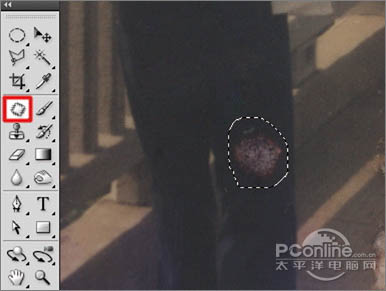
<图10>
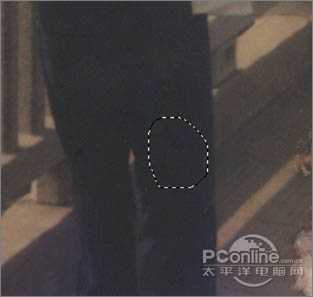
<图11>
6、选择工具箱中的 多边形套索工具,描绘出如图12所示的四边形选区;执行菜单:“选择”/“修改”/“羽化”(快捷键Shift+F6),弹出“羽化选区”对话框,羽化半径设置为:5像素,如图13所示。执行菜单:“图层”/“新建”/“通过拷贝的图层”(快捷键Ctrl+J),复制“图层 1”,如图14所示。
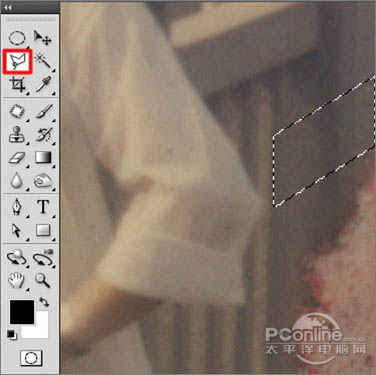
<图12>

<图13>
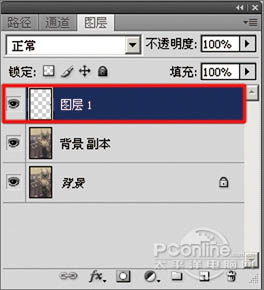
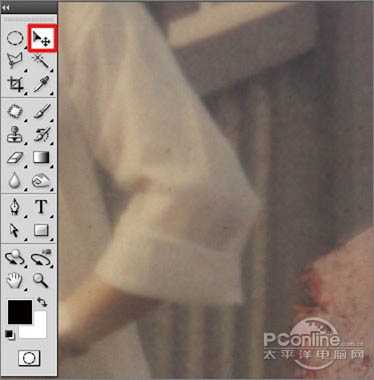
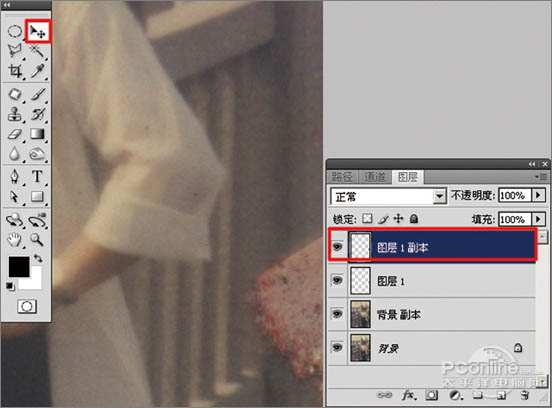
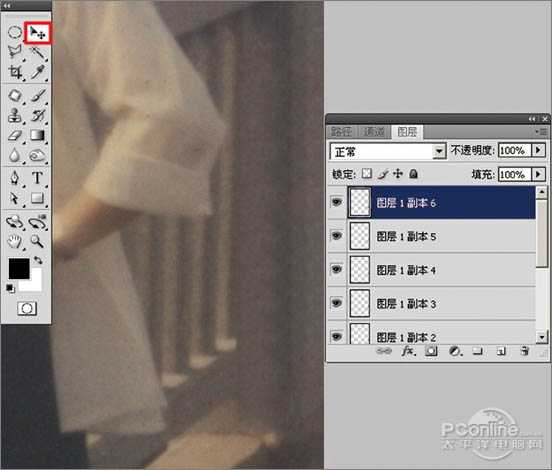
<图14> 7、选择工具中的 移动工具,向下移动 “图层1”的位置,把破损的区域进行覆盖,如图15所示。执行菜单:“图层”/“新建”/“通过拷贝的图层”(快捷键Ctrl+J),再使用 移动工具,向下移动 “图层1副本”,把破损的区域进行覆盖,如图16所示。用相同的制作方法直到完全覆盖破损区,覆盖的效果如图17所示。选中“图层 1副本6”,执行菜单:“图层”/“向下合并”(快捷键Ctrl+E),合并成“图层 1”,如图18所示。
<图15>
<图16>
<图17>
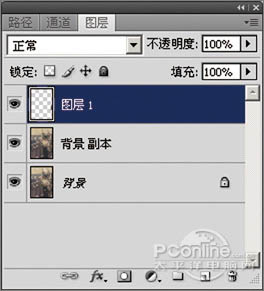
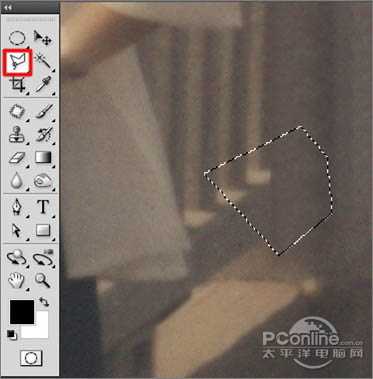
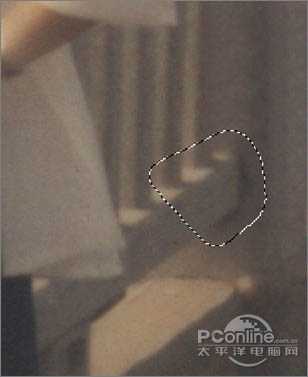
<图18> 8、选择工具箱中的 多边形套索工具,描绘出如图19所示多边形选区。执行菜单:“选择”/“修改”/“羽化”(快捷键Shift+F6),弹出“羽化选区”对话框,羽化半径设置为:5像素,如图20所示;然后按Delete键,删除“图层1”选区中的图像,然后按“Ctrl+D”取消选择如图21所示。
<图19>

<图20>
<图21>
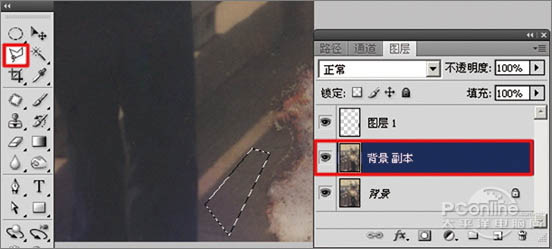
9、选择工具箱中的 多边形套索工具,描绘出如图22所示四边形选区。执行菜单:“选择”/“修改”/“羽化”(快捷键Shift+F6),弹出“羽化选区”对话框,羽化半径设置为:5像素,如图23所示。执行菜单:“图层”/“新建”/“通过拷贝的图层”(快捷键Ctrl+J),复制出“图层 2”,如图24所示。
<图22>

<图23>
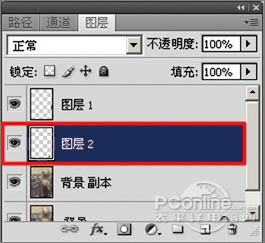
<图24> 10、选择工具中的 移动工具,向右移动复制出的“层图 2”图像位置,把路面破损的区域覆盖,如图25所示;同样用复制出图层并移动的方法,把路面破损的区域全部覆盖,效果如图26所示,再执行菜单:“图层”/“向下合并”(快捷键Ctrl+E),合并成“图层 2”。
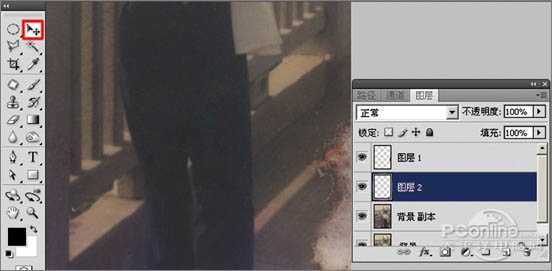
<图25>
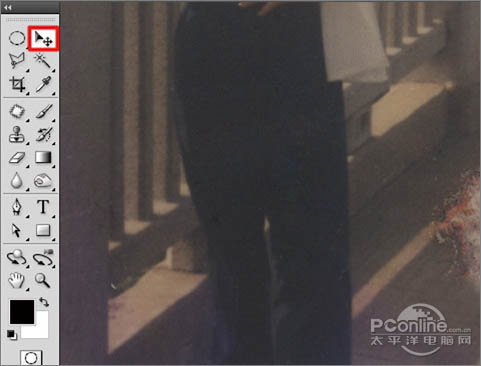
<图26>
11、选择工具箱中的 多边形套索工具,描绘出如图27所示四边形选区。执行菜单:“选择”/“修改”/“羽化”(快捷键Shift+F6),弹出“羽化选区”对话框,羽化半径设置为:5像素,如图28所示。执行菜单:“图层”/“新建”/“通过拷贝的图层”(快捷键Ctrl+J),复制“图层 3”,如图29所示。
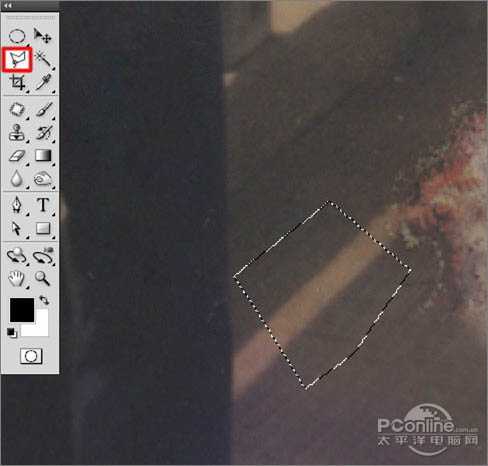
<图27>

<图28>
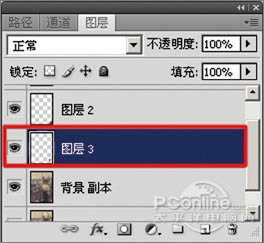
<图29> 12、选择工具中的 移动工具,向右上角移动复制出的“层图 3”图像位置,覆盖路面破损的区域,如图30所示。同样用复制出图层并移动的方法,把路面其它破损的区域覆盖,效果如图31所示。
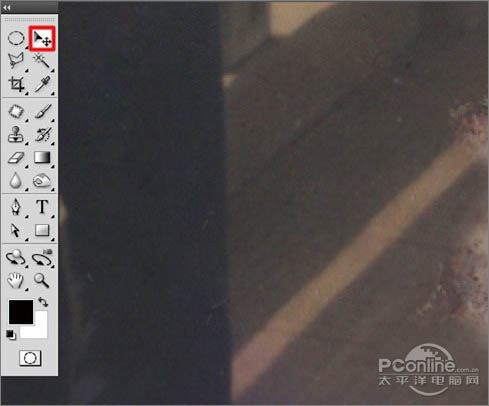
<图30>
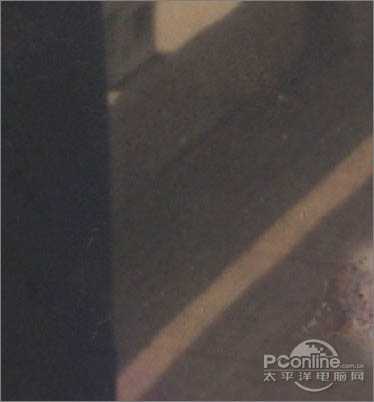
<图31>
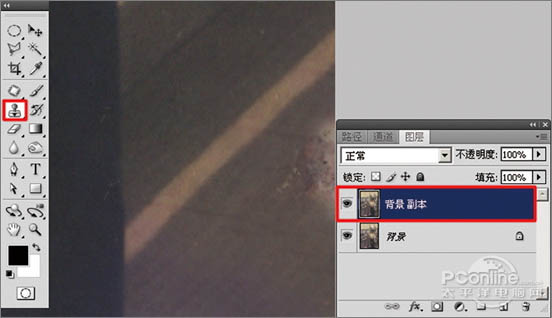
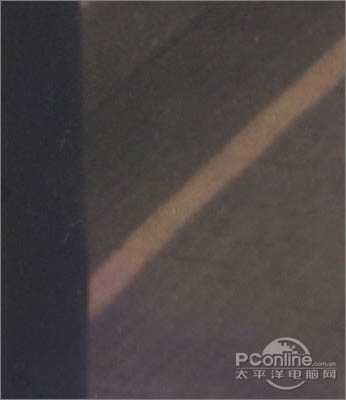
13、选中“图层 1”,执行菜单:“图层”/“向下合并”(快捷键Ctrl+E),合并成“背景 副本”,再选择工具箱中的 仿制图章工具,如图32所示;按住Alt键,在修复区域外点击路面相似的图像采样,然后在修复区域拖动鼠标复制以覆盖修复,效果如图33所示。
<图32>
<图33>
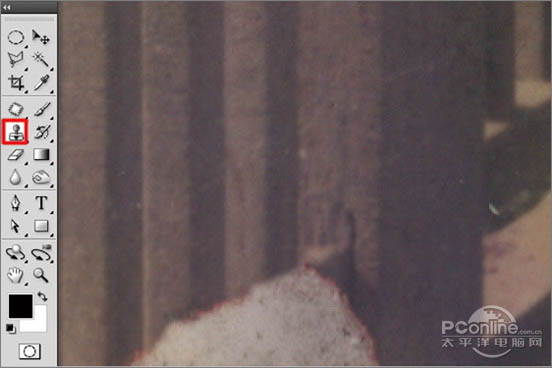
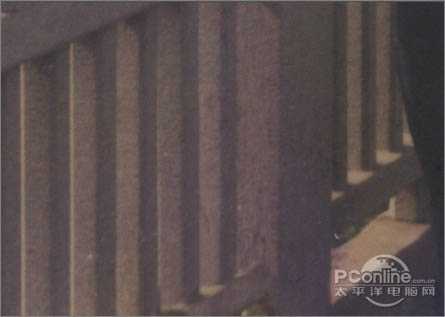
14、选择工具箱中的 仿制图章工具,按住Alt键,在修复区域外点击相似的图像采样,然后在修复区域拖动鼠标复制以覆盖修复,如图34所示。 要细心的选中相似的图像采样慢慢修复,效果如图35所示。
<图34>
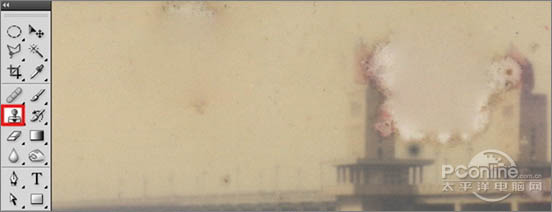
<图35> 15、选择工具箱中的 仿制图章工具,修复破损桥塔中间部分,如图36所示;按住Alt键,在修复区域外点击相似的图像采样,然后在修复区域拖动鼠标复制以覆盖修复,效果如图37所示。
<图36>
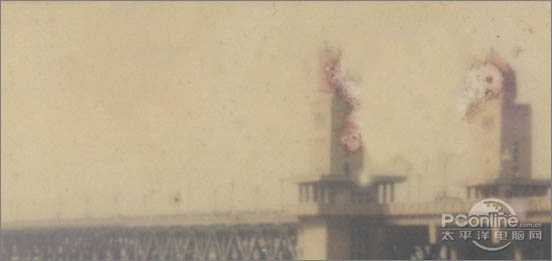
<图37>
16、按组合键“Ctrl+‘+’”,把视图放大,选择工具箱中的 仿制图章工具,修复桥塔的破损区域,如图38所示。按住Alt键,在修复区域外点击桥塔相似的图像采样,然后慢慢的在修复区域拖动鼠标复制以覆盖修复,效果如图39所示。
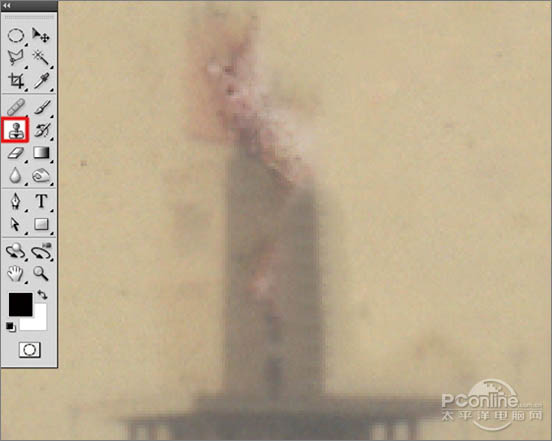
<图38>
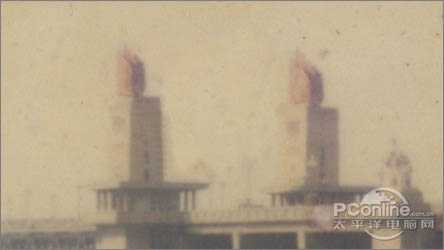
<图39>
17、按组合键“Ctrl+‘+’”,把视图放大,选择工具箱中的 仿制图章工具,修复桥的破损的区域,如图40所示。按住Alt键,在修复区域外点击桥相似的图像采样,然后慢慢的在修复区域拖动鼠标复制以覆盖修复,效果如图41所示。
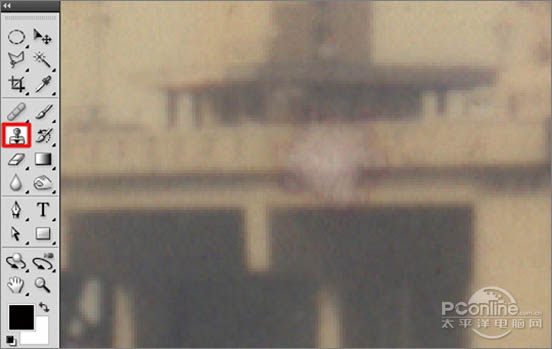
<图40>
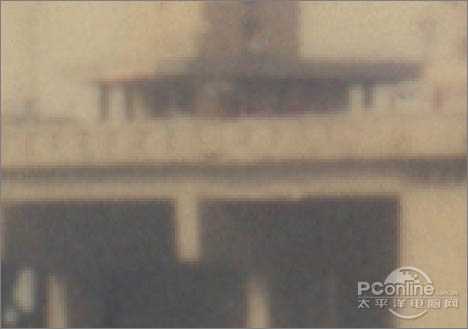
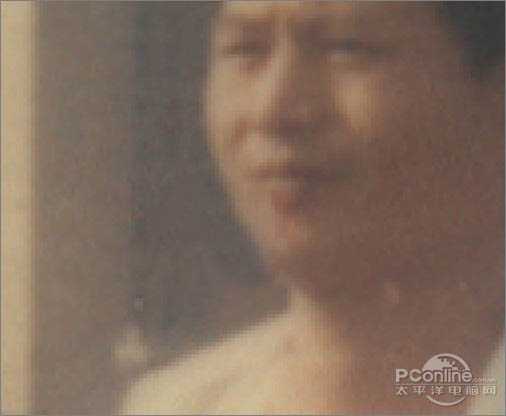
<图41> 18、选择工具箱中的 仿制图章工具,修复人物脸部的破损区域,如图42所示。按住Alt键,在修复区域外点击相似的图像采样,然后慢慢的在修复区域拖动鼠标复制以覆盖修复,效果如图43所示。
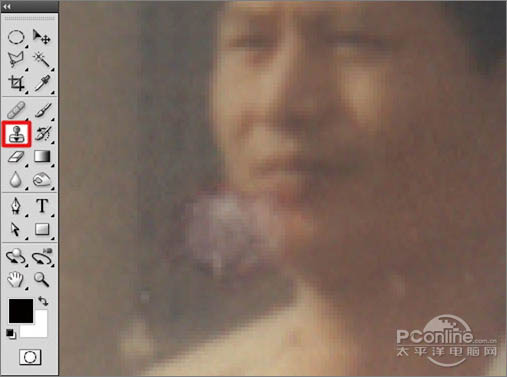
<图42>
<图43>
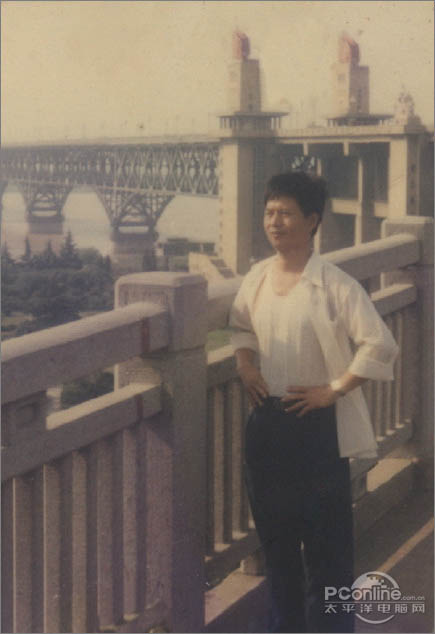
19、按组合键“Ctrl+0”,把视图显视全部页面大小,观察整个画面,还有小小的破损的区域,如图44所示,继续使用 仿制图章工具进行修复。
<图44>
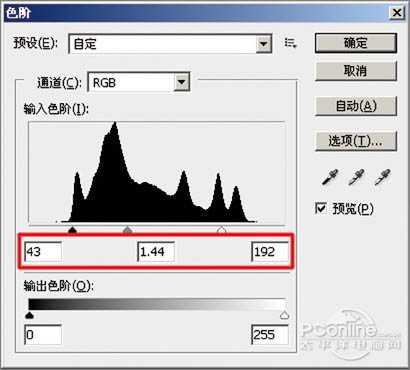
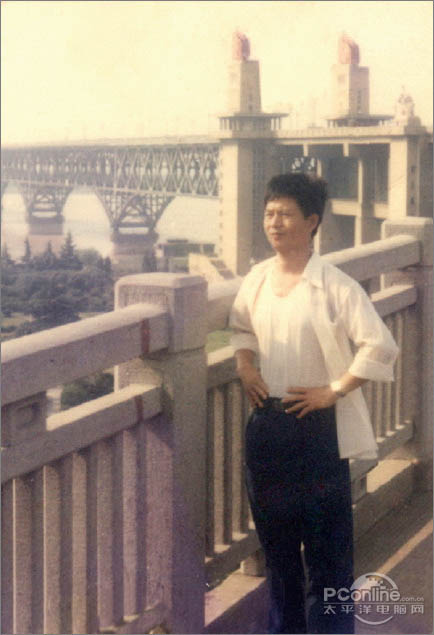
20、执行菜单:“图像”/“调整”/“色阶”(快捷键Ctrl+L),弹出“色阶”对话框,对色阶进行调整,如图45所示,效果如图46所示。
<图45>
<图46> 上一页12 3 下一页 阅读全文
原图

<图1>
最终效果

<图2> 一、修复照片的破损区域 1、运行Adobe Photoshop CS4软件,执行菜单:“文件”/“打开”(快捷键Ctrl+O),打开素材,把“背景”图层拖到面板下方的 创建新图层按钮处,复制出“背景副本”,如图3所示。提示:在复制出来的照片上进行编辑操作,可以避免操作失误无法退回原始状态。

<图3>
2、选择工具箱中的 修补工具,在要修补的位置描绘出选区,如图4A所示。按住鼠标左键,拖动这个选区到相似色之中,如图4B所示。释放鼠标,完成选区修补并按组合键Ctrl+D取消选区,如图5所示。提示:对于破损面积比较大的区域,可以直接使用修补工具选择,然后拖动到相近颜色区域以完成初步修复。

<图4>

<图5>
3、选择工具箱中的 修补工具,选择破损比较严重的桥塔中间部分,如图6所示。用鼠标左键拖动这个选区到相似色之中,释放鼠标完成初步修复,然后按组合键Ctrl+D取消选区,效果如图7所示。

<图6>

<图7> 4、选择工具箱中的 修补工具,选择人物裤子中破损较严重的区域,如图8所示。用鼠标左键拖动这个选区到相似区域之中,释放鼠标,完成此区域的初步修复并按组合键Ctrl+D取消选区,效果如图9所示。

<图8>

<图9>
5、选择工具箱中的 修补工具,选择人物裤子膝盖处破损较大的区域,如图10所示。用鼠标左键拖动这个选区到相似区域之中,释放鼠标完成该区域修复并按组合键Ctrl+D取消选区,效果如图11所示。

<图10>

<图11>
6、选择工具箱中的 多边形套索工具,描绘出如图12所示的四边形选区;执行菜单:“选择”/“修改”/“羽化”(快捷键Shift+F6),弹出“羽化选区”对话框,羽化半径设置为:5像素,如图13所示。执行菜单:“图层”/“新建”/“通过拷贝的图层”(快捷键Ctrl+J),复制“图层 1”,如图14所示。

<图12>

<图13>

<图14> 7、选择工具中的 移动工具,向下移动 “图层1”的位置,把破损的区域进行覆盖,如图15所示。执行菜单:“图层”/“新建”/“通过拷贝的图层”(快捷键Ctrl+J),再使用 移动工具,向下移动 “图层1副本”,把破损的区域进行覆盖,如图16所示。用相同的制作方法直到完全覆盖破损区,覆盖的效果如图17所示。选中“图层 1副本6”,执行菜单:“图层”/“向下合并”(快捷键Ctrl+E),合并成“图层 1”,如图18所示。

<图15>

<图16>

<图17>

<图18> 8、选择工具箱中的 多边形套索工具,描绘出如图19所示多边形选区。执行菜单:“选择”/“修改”/“羽化”(快捷键Shift+F6),弹出“羽化选区”对话框,羽化半径设置为:5像素,如图20所示;然后按Delete键,删除“图层1”选区中的图像,然后按“Ctrl+D”取消选择如图21所示。

<图19>

<图20>

<图21>
9、选择工具箱中的 多边形套索工具,描绘出如图22所示四边形选区。执行菜单:“选择”/“修改”/“羽化”(快捷键Shift+F6),弹出“羽化选区”对话框,羽化半径设置为:5像素,如图23所示。执行菜单:“图层”/“新建”/“通过拷贝的图层”(快捷键Ctrl+J),复制出“图层 2”,如图24所示。

<图22>

<图23>

<图24> 10、选择工具中的 移动工具,向右移动复制出的“层图 2”图像位置,把路面破损的区域覆盖,如图25所示;同样用复制出图层并移动的方法,把路面破损的区域全部覆盖,效果如图26所示,再执行菜单:“图层”/“向下合并”(快捷键Ctrl+E),合并成“图层 2”。

<图25>

<图26>
11、选择工具箱中的 多边形套索工具,描绘出如图27所示四边形选区。执行菜单:“选择”/“修改”/“羽化”(快捷键Shift+F6),弹出“羽化选区”对话框,羽化半径设置为:5像素,如图28所示。执行菜单:“图层”/“新建”/“通过拷贝的图层”(快捷键Ctrl+J),复制“图层 3”,如图29所示。

<图27>

<图28>

<图29> 12、选择工具中的 移动工具,向右上角移动复制出的“层图 3”图像位置,覆盖路面破损的区域,如图30所示。同样用复制出图层并移动的方法,把路面其它破损的区域覆盖,效果如图31所示。

<图30>

<图31>
13、选中“图层 1”,执行菜单:“图层”/“向下合并”(快捷键Ctrl+E),合并成“背景 副本”,再选择工具箱中的 仿制图章工具,如图32所示;按住Alt键,在修复区域外点击路面相似的图像采样,然后在修复区域拖动鼠标复制以覆盖修复,效果如图33所示。

<图32>

<图33>
14、选择工具箱中的 仿制图章工具,按住Alt键,在修复区域外点击相似的图像采样,然后在修复区域拖动鼠标复制以覆盖修复,如图34所示。 要细心的选中相似的图像采样慢慢修复,效果如图35所示。

<图34>

<图35> 15、选择工具箱中的 仿制图章工具,修复破损桥塔中间部分,如图36所示;按住Alt键,在修复区域外点击相似的图像采样,然后在修复区域拖动鼠标复制以覆盖修复,效果如图37所示。

<图36>

<图37>
16、按组合键“Ctrl+‘+’”,把视图放大,选择工具箱中的 仿制图章工具,修复桥塔的破损区域,如图38所示。按住Alt键,在修复区域外点击桥塔相似的图像采样,然后慢慢的在修复区域拖动鼠标复制以覆盖修复,效果如图39所示。

<图38>

<图39>
17、按组合键“Ctrl+‘+’”,把视图放大,选择工具箱中的 仿制图章工具,修复桥的破损的区域,如图40所示。按住Alt键,在修复区域外点击桥相似的图像采样,然后慢慢的在修复区域拖动鼠标复制以覆盖修复,效果如图41所示。

<图40>

<图41> 18、选择工具箱中的 仿制图章工具,修复人物脸部的破损区域,如图42所示。按住Alt键,在修复区域外点击相似的图像采样,然后慢慢的在修复区域拖动鼠标复制以覆盖修复,效果如图43所示。

<图42>

<图43>
19、按组合键“Ctrl+0”,把视图显视全部页面大小,观察整个画面,还有小小的破损的区域,如图44所示,继续使用 仿制图章工具进行修复。

<图44>
20、执行菜单:“图像”/“调整”/“色阶”(快捷键Ctrl+L),弹出“色阶”对话框,对色阶进行调整,如图45所示,效果如图46所示。

<图45>

<图46> 上一页12 3 下一页 阅读全文
标签:
陈年,老照片
帝王谷资源网 Design By www.wdxyy.com
广告合作:本站广告合作请联系QQ:858582 申请时备注:广告合作(否则不回)
免责声明:本站文章均来自网站采集或用户投稿,网站不提供任何软件下载或自行开发的软件! 如有用户或公司发现本站内容信息存在侵权行为,请邮件告知! 858582#qq.com
免责声明:本站文章均来自网站采集或用户投稿,网站不提供任何软件下载或自行开发的软件! 如有用户或公司发现本站内容信息存在侵权行为,请邮件告知! 858582#qq.com
帝王谷资源网 Design By www.wdxyy.com
暂无评论...
RTX 5090要首发 性能要翻倍!三星展示GDDR7显存
三星在GTC上展示了专为下一代游戏GPU设计的GDDR7内存。
首次推出的GDDR7内存模块密度为16GB,每个模块容量为2GB。其速度预设为32 Gbps(PAM3),但也可以降至28 Gbps,以提高产量和初始阶段的整体性能和成本效益。
据三星表示,GDDR7内存的能效将提高20%,同时工作电压仅为1.1V,低于标准的1.2V。通过采用更新的封装材料和优化的电路设计,使得在高速运行时的发热量降低,GDDR7的热阻比GDDR6降低了70%。
更新日志
2025年02月22日
2025年02月22日
- 小骆驼-《草原狼2(蓝光CD)》[原抓WAV+CUE]
- 群星《欢迎来到我身边 电影原声专辑》[320K/MP3][105.02MB]
- 群星《欢迎来到我身边 电影原声专辑》[FLAC/分轨][480.9MB]
- 雷婷《梦里蓝天HQⅡ》 2023头版限量编号低速原抓[WAV+CUE][463M]
- 群星《2024好听新歌42》AI调整音效【WAV分轨】
- 王思雨-《思念陪着鸿雁飞》WAV
- 王思雨《喜马拉雅HQ》头版限量编号[WAV+CUE]
- 李健《无时无刻》[WAV+CUE][590M]
- 陈奕迅《酝酿》[WAV分轨][502M]
- 卓依婷《化蝶》2CD[WAV+CUE][1.1G]
- 群星《吉他王(黑胶CD)》[WAV+CUE]
- 齐秦《穿乐(穿越)》[WAV+CUE]
- 发烧珍品《数位CD音响测试-动向效果(九)》【WAV+CUE】
- 邝美云《邝美云精装歌集》[DSF][1.6G]
- 吕方《爱一回伤一回》[WAV+CUE][454M]
