帝王谷资源网 Design By www.wdxyy.com
在本教程中,我将向你展示在PS图象处理软件创建抽象的科幻风格的能量激光束。我们将通过一些有趣的技术来创建这些光束,在一个空间的背景,如照明效果,颜色叠加和图像调整。
教程素材:制作绚丽的激光束PS教程素材
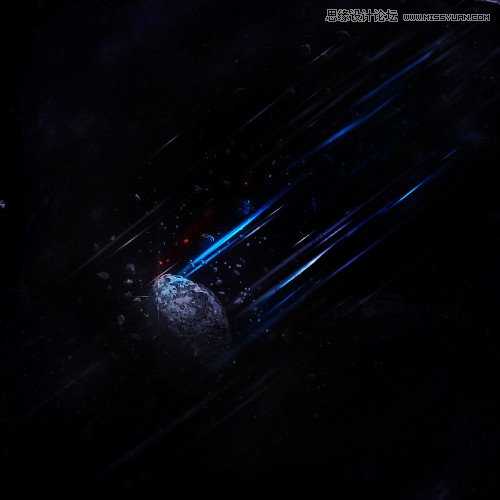
这是最终的效果预览:
第一步:
创建一个800*800黑色背景文件,用刚才下载的SpaceBrush笔刷,在背景上画一些微妙的悬浮物,如下图

利用刚才你下载的Asteroids,在恒星背景添加一些飞石:(调整为你认为合适的尺寸)
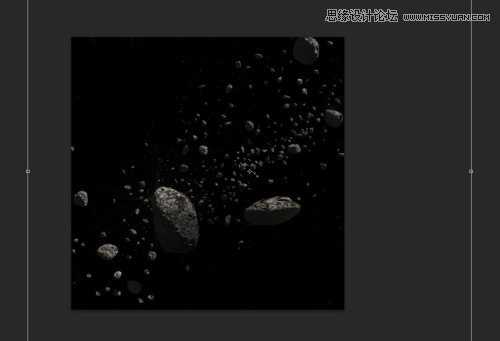
使用软橡皮擦,淡化这一新的小行星层的一些部分如下所示:
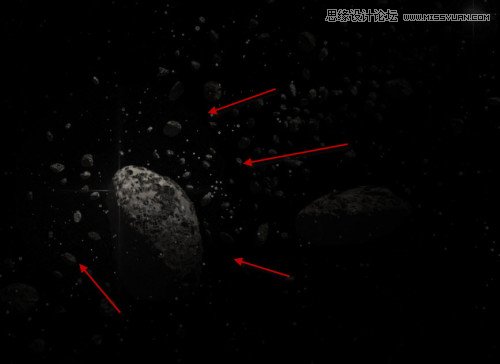
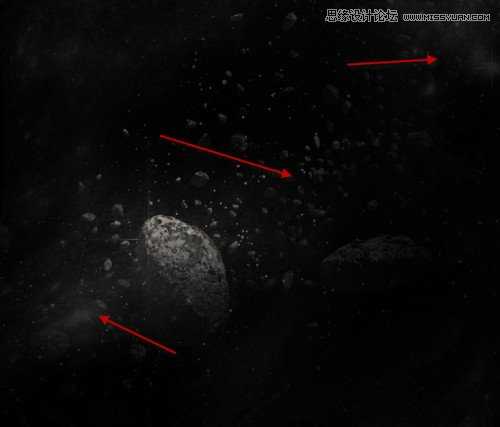
建一个新的图层并重复添加更多的飞石,如下所示:
第二步:
我们将开始画激光光束。首先创建一个新的图层,并用画笔工具画一个灰色的圆(调整羽化值和透明度):
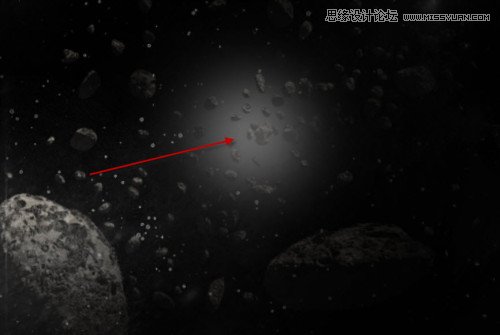
再用小一点的笔刷,亮一点的颜色,添加另一个较小的圆在如下所示的位置:
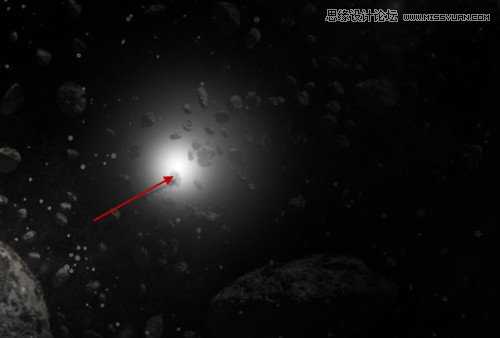
然后使用自由变换工具,扭曲这一图层,如下所示:
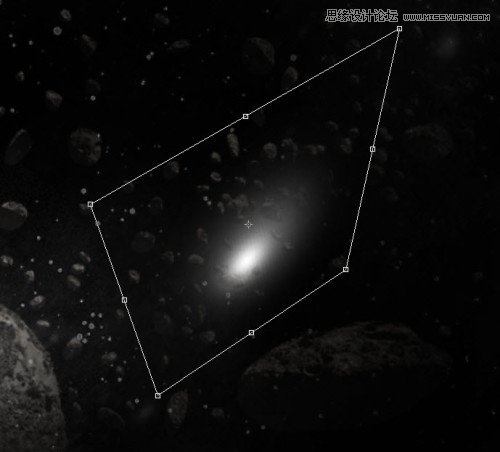
然后重新拖动大小如下所示:
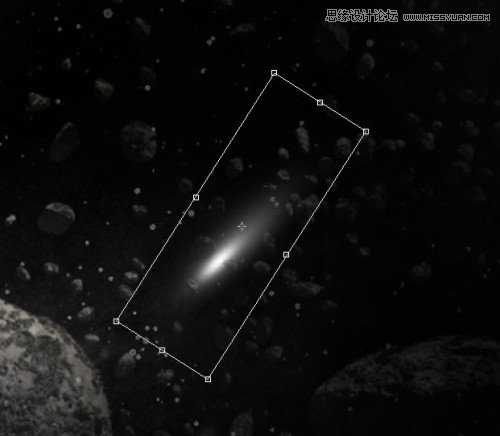
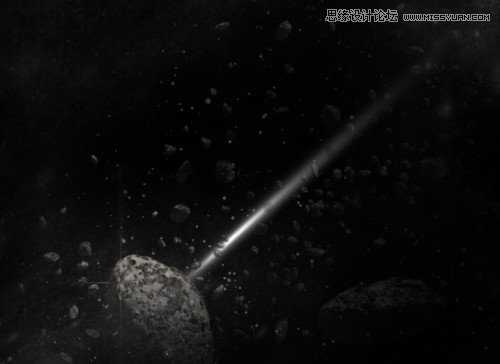
继续拉伸直至形成一个薄的形状如下图所示:
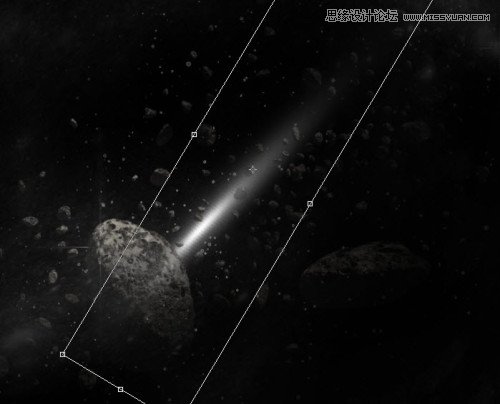
这是最后的效果:
步骤三:
复制此图层几次,放到周围合适的地方(大小自己调整),试图形成一个组的效果如下图所示:
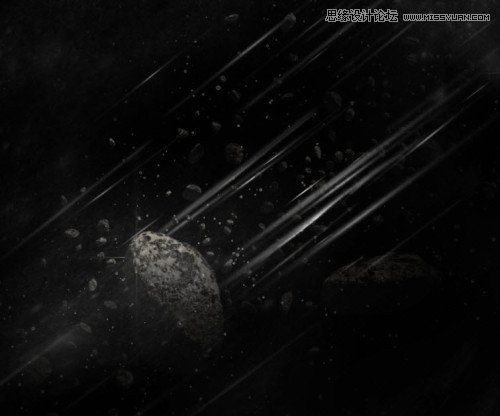
合并所有图层,并添加运动模糊:
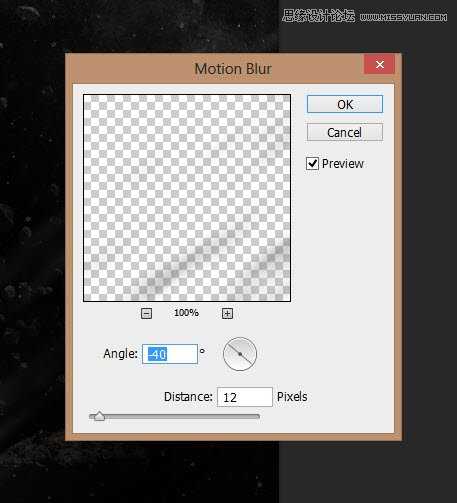
减少这种运动模糊层的图层的不透明度为40%左右,形成这样的效果:

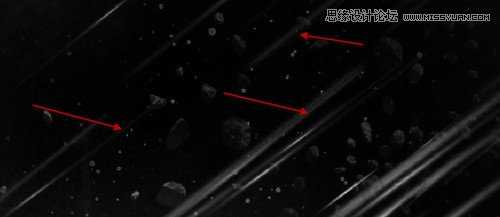
这是到目前为止的效果:
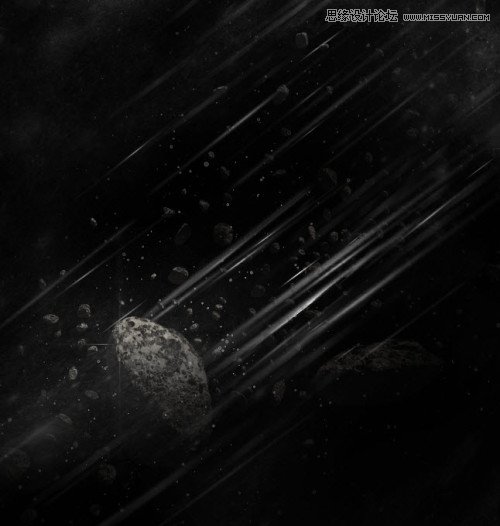
第四步:
我们将要为这个图层添加一些颜色。我们先建一个新的图层,同样用第2步中描述的方法,但是要用蓝色画,如下图所示:
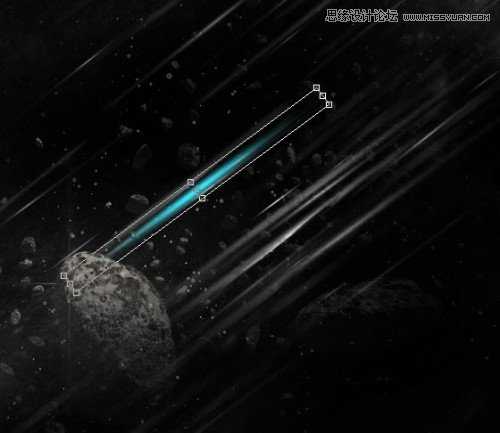
改变混合模式为“叠加”,重复几次,会有以下作用:
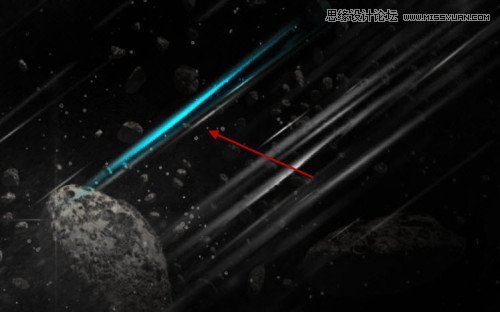
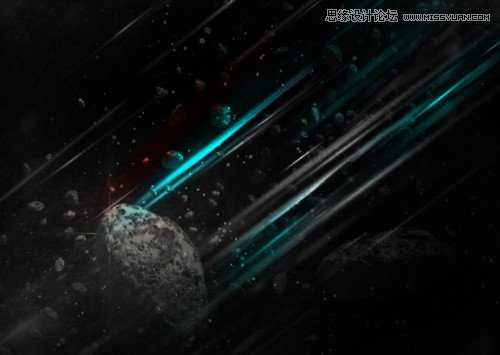
继续添加更多的色彩图像,如下图所示:
第五步:
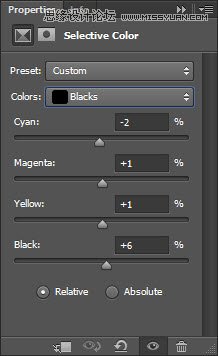
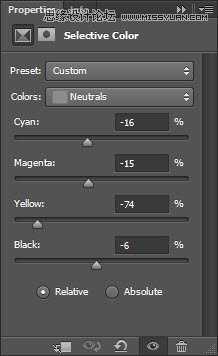
我们几乎完成了,最后调整一下效果,我们可以在上面添加一些图像调整层:
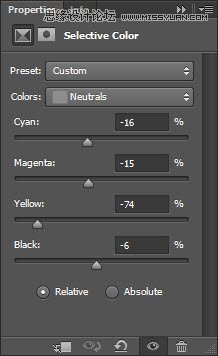
选择颜色:
调整曲线
应用下面的图层蒙版:
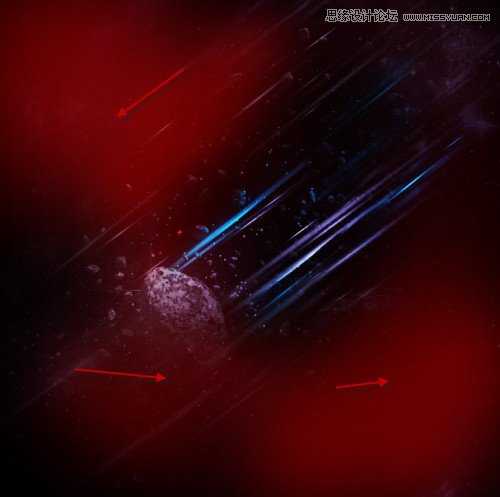
这是最终效果:

感谢阅读,如有不懂,请在下面留言。
教程素材:制作绚丽的激光束PS教程素材
这是最终的效果预览:

第一步:
创建一个800*800黑色背景文件,用刚才下载的SpaceBrush笔刷,在背景上画一些微妙的悬浮物,如下图

利用刚才你下载的Asteroids,在恒星背景添加一些飞石:(调整为你认为合适的尺寸)

使用软橡皮擦,淡化这一新的小行星层的一些部分如下所示:

建一个新的图层并重复添加更多的飞石,如下所示:

第二步:
我们将开始画激光光束。首先创建一个新的图层,并用画笔工具画一个灰色的圆(调整羽化值和透明度):

再用小一点的笔刷,亮一点的颜色,添加另一个较小的圆在如下所示的位置:

然后使用自由变换工具,扭曲这一图层,如下所示:

然后重新拖动大小如下所示:

继续拉伸直至形成一个薄的形状如下图所示:

这是最后的效果:

步骤三:
复制此图层几次,放到周围合适的地方(大小自己调整),试图形成一个组的效果如下图所示:

合并所有图层,并添加运动模糊:

减少这种运动模糊层的图层的不透明度为40%左右,形成这样的效果:


这是到目前为止的效果:

第四步:
我们将要为这个图层添加一些颜色。我们先建一个新的图层,同样用第2步中描述的方法,但是要用蓝色画,如下图所示:

改变混合模式为“叠加”,重复几次,会有以下作用:

继续添加更多的色彩图像,如下图所示:

第五步:
我们几乎完成了,最后调整一下效果,我们可以在上面添加一些图像调整层:
选择颜色:


调整曲线

应用下面的图层蒙版:

这是最终效果:

感谢阅读,如有不懂,请在下面留言。
标签:
激光束,科幻
帝王谷资源网 Design By www.wdxyy.com
广告合作:本站广告合作请联系QQ:858582 申请时备注:广告合作(否则不回)
免责声明:本站文章均来自网站采集或用户投稿,网站不提供任何软件下载或自行开发的软件! 如有用户或公司发现本站内容信息存在侵权行为,请邮件告知! 858582#qq.com
免责声明:本站文章均来自网站采集或用户投稿,网站不提供任何软件下载或自行开发的软件! 如有用户或公司发现本站内容信息存在侵权行为,请邮件告知! 858582#qq.com
帝王谷资源网 Design By www.wdxyy.com
暂无评论...
RTX 5090要首发 性能要翻倍!三星展示GDDR7显存
三星在GTC上展示了专为下一代游戏GPU设计的GDDR7内存。
首次推出的GDDR7内存模块密度为16GB,每个模块容量为2GB。其速度预设为32 Gbps(PAM3),但也可以降至28 Gbps,以提高产量和初始阶段的整体性能和成本效益。
据三星表示,GDDR7内存的能效将提高20%,同时工作电压仅为1.1V,低于标准的1.2V。通过采用更新的封装材料和优化的电路设计,使得在高速运行时的发热量降低,GDDR7的热阻比GDDR6降低了70%。
更新日志
2025年02月22日
2025年02月22日
- 小骆驼-《草原狼2(蓝光CD)》[原抓WAV+CUE]
- 群星《欢迎来到我身边 电影原声专辑》[320K/MP3][105.02MB]
- 群星《欢迎来到我身边 电影原声专辑》[FLAC/分轨][480.9MB]
- 雷婷《梦里蓝天HQⅡ》 2023头版限量编号低速原抓[WAV+CUE][463M]
- 群星《2024好听新歌42》AI调整音效【WAV分轨】
- 王思雨-《思念陪着鸿雁飞》WAV
- 王思雨《喜马拉雅HQ》头版限量编号[WAV+CUE]
- 李健《无时无刻》[WAV+CUE][590M]
- 陈奕迅《酝酿》[WAV分轨][502M]
- 卓依婷《化蝶》2CD[WAV+CUE][1.1G]
- 群星《吉他王(黑胶CD)》[WAV+CUE]
- 齐秦《穿乐(穿越)》[WAV+CUE]
- 发烧珍品《数位CD音响测试-动向效果(九)》【WAV+CUE】
- 邝美云《邝美云精装歌集》[DSF][1.6G]
- 吕方《爱一回伤一回》[WAV+CUE][454M]
