帝王谷资源网 Design By www.wdxyy.com
运用ps工作的主要手段有以下几个部分:
一、塑造表现功能:这部分功能从本质上讲取决于使用者造型能力,和软件本身并无太大关系,所涉及的工具也很少,,就其表现力来说,PAINTER的功能远比photoshop强大,所以这部分内偶准备把它放在造型基础来编写
二、图象调整功能:ps在这方面的科学性和系统性是无与伦比滴
三、特效发生功能:图层样式和滤镜以及相关插件使ps的特效发生能力在所有图形图象软件中笑傲江湖
* 文件菜单 *
一般认为文件菜单是最原始和初级的,往往不屑一顾,其实在文件菜单中还有许多我们没有认识的东西,诸如“新建”、“打开”等常用的命令偶就不废话的说
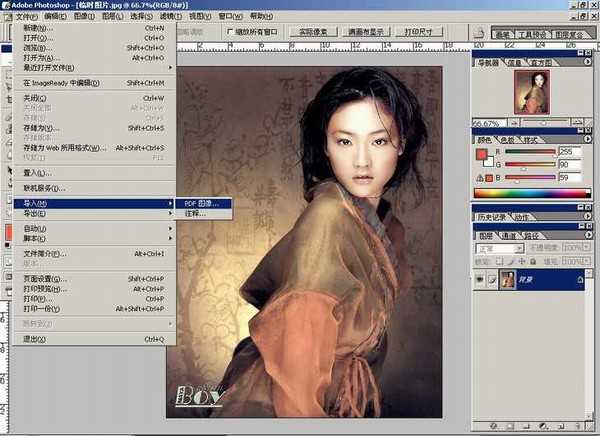
让我们认识一下“浏览”
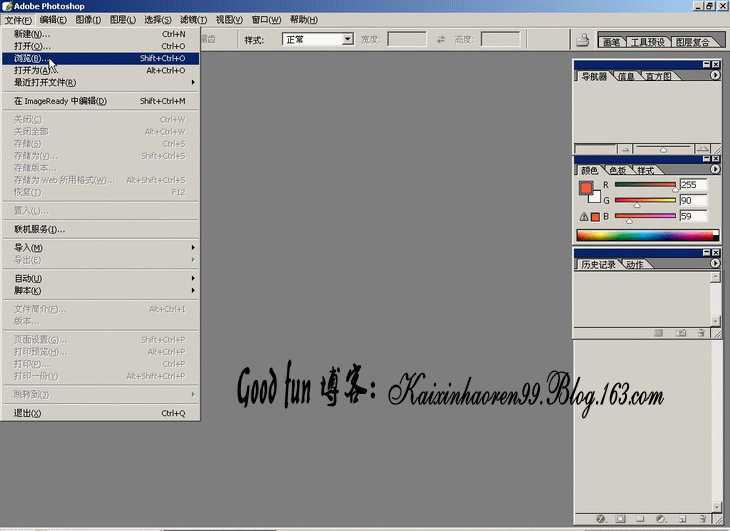
打开ACDSEE6会严重影响机器的速度和效率,郁闷!
这时,偶不得不重视ps自带的浏览器,“浏览”命令就是打开她的钥匙
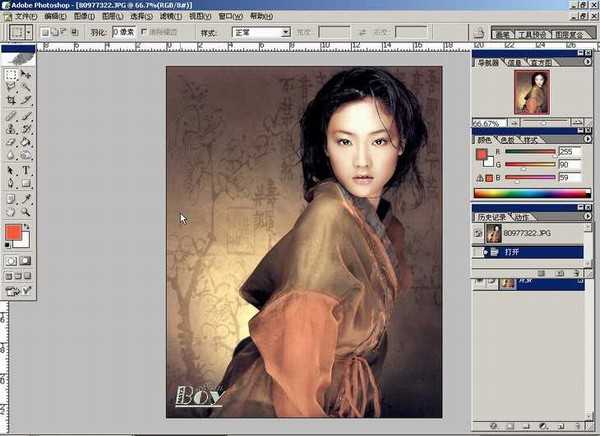
有些朋友反映:ps自带的浏览器也不快呀
这是因为缩略图显示设置太高,如果你合理设置,加上它的自由拖曳功能,总体上是比ACDSEE6快而且稳定的

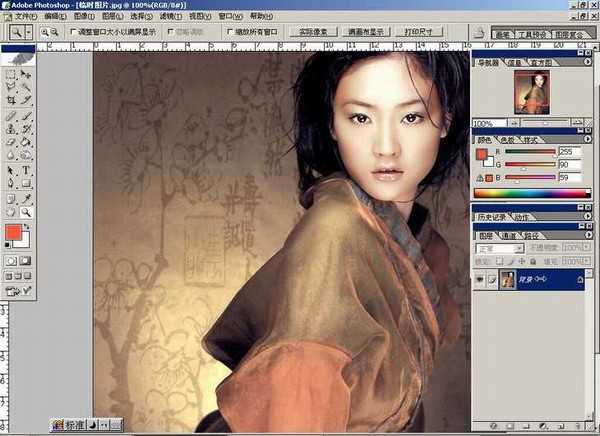
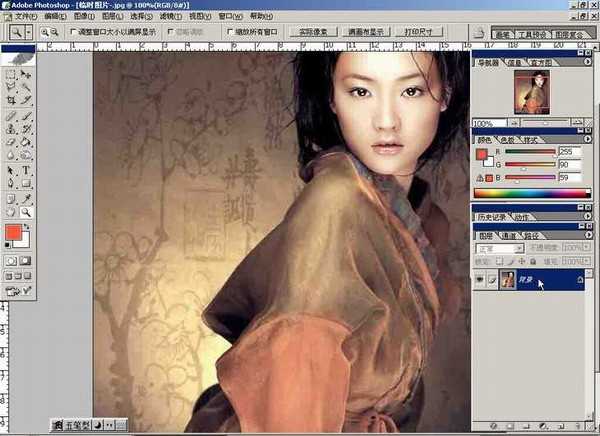
文件浏览器自动弹出,我们拖曳一幅图片作为实例进一步讲解,在论坛上看到很多朋友发的图,不是巨大,就是巨小,在网站发图200KB的制约下,画面的质量往往难以保证
让我们通过“储存为”来解决这个问题
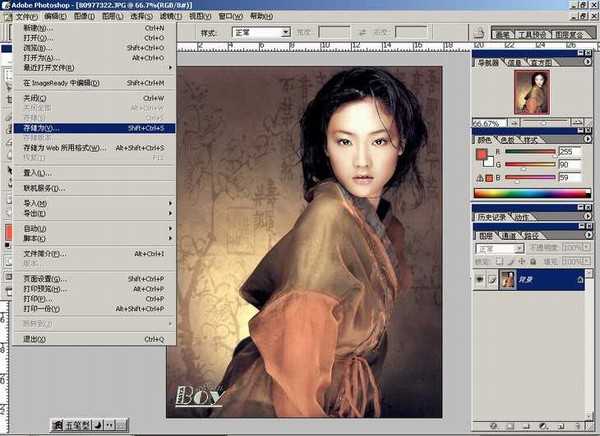
大家一定很熟悉
图象的质量取决于它的分辨率,在新建文件的时候,为保证制作精度一般设置为300B以上
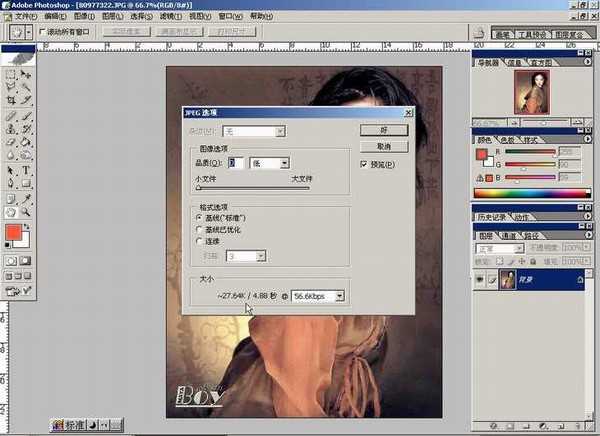
在存储压缩为JPEG文件格式的时候,ps会自动计算并显示压缩后的文件大小
注意储存面版的最下方
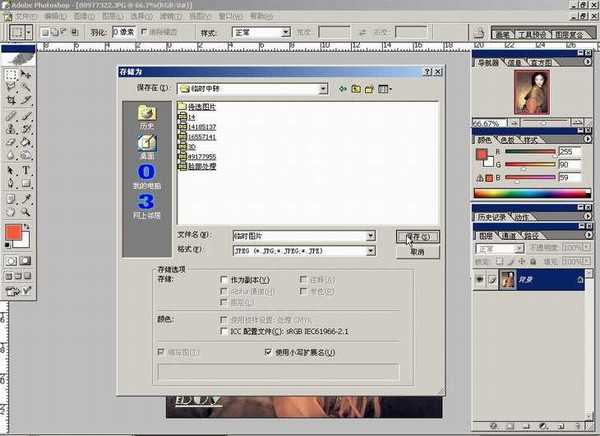
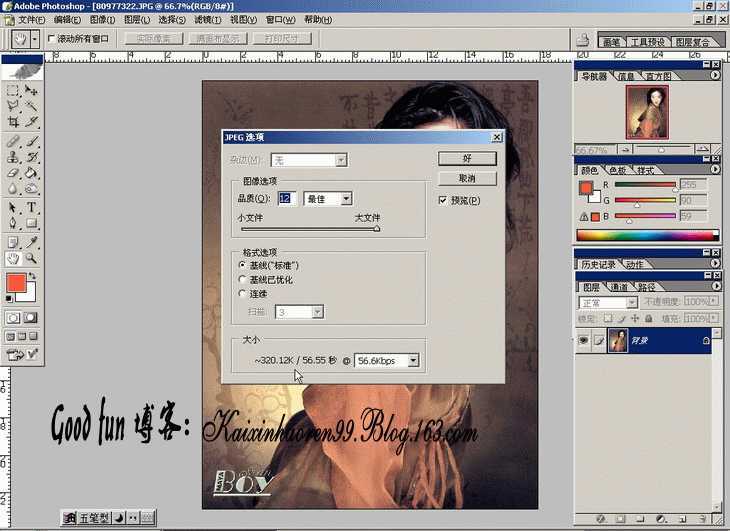
需要说明的是,这里显示的数据并不是最终的文件大小
由于WINDOWS系统还要为文件规定位置等属性的信息,所以最后的文件一般比显示的大20K左右
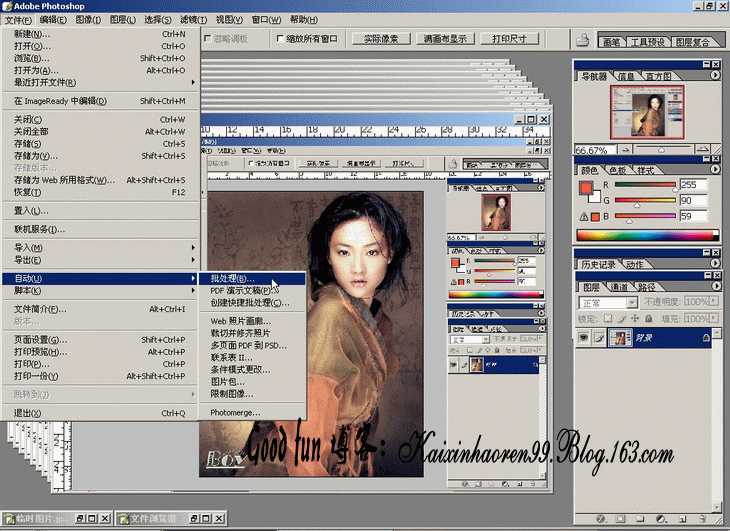
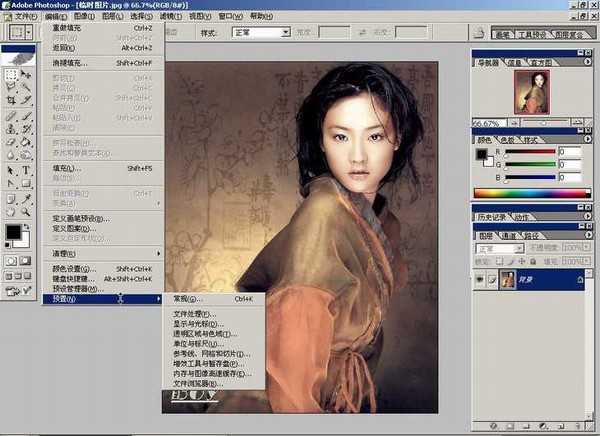
最高级别的存储
完全不必一张张地辛苦
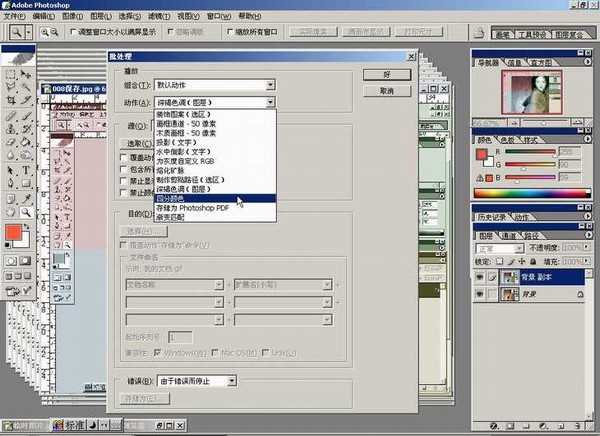
打开“批处理”命令,选择要处理的文件或者文件夹
如图设置一下,看看回发生什么?
再自己调整选项和参数,试试:
编辑菜单中的大多数工具,大家是非常熟练的
这里只拣几个重点说说:
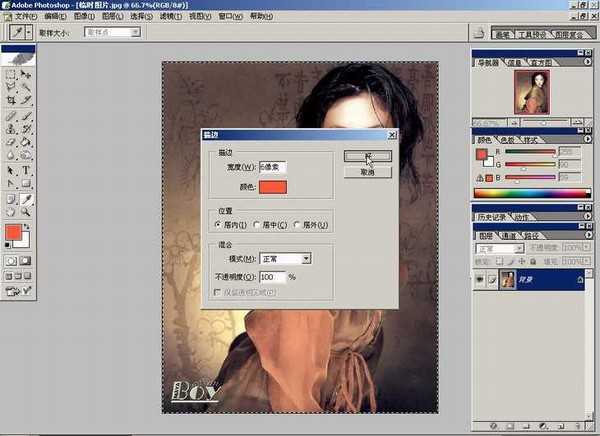
描边:
这是非常实用的一个前景色工具,以给整个画面加框为例
CTRL+A全选之后,选择“描边”命令
设定描边的宽度、颜色、位置(位置不同效果很不一样的说)
完成
“描边”不仅可以绘制不同颜色、宽度的直线,只要是选取所至,任何形状照描不误!


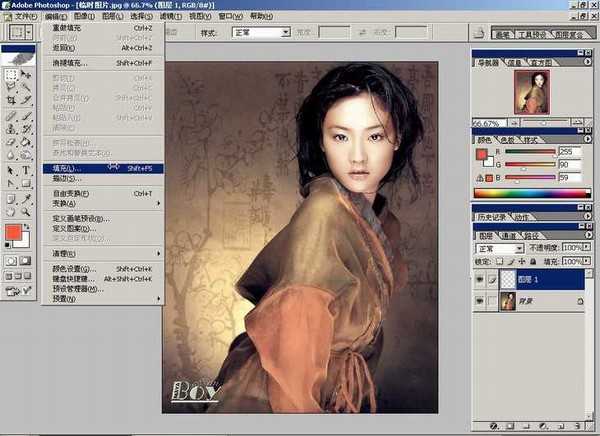
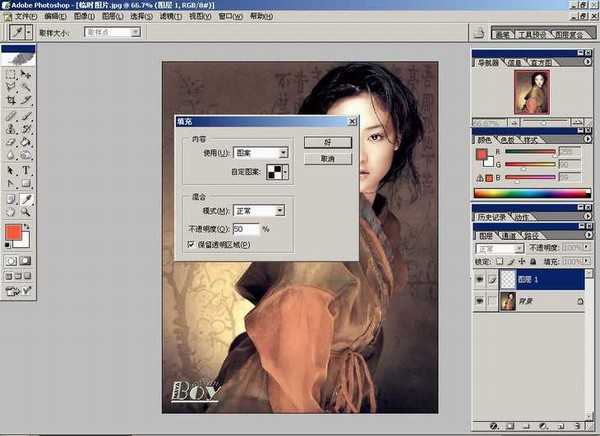
选择填充命令后,会弹出如图面版
设置图案,可以是ps默认的,更多是我们自己定义的图案
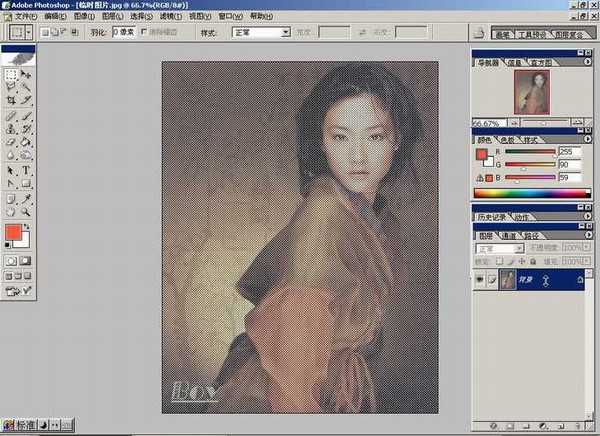
填充后的效果(按CTRL+A在看)
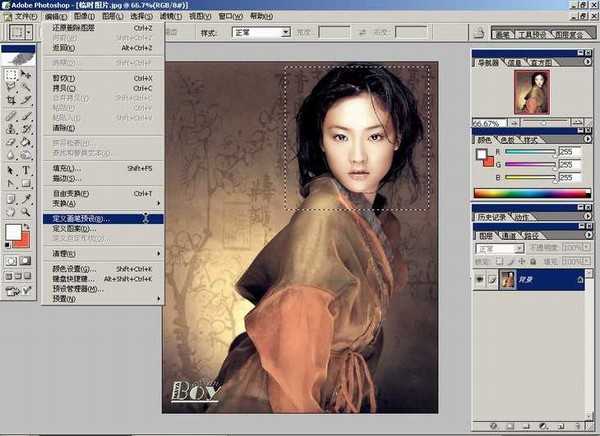
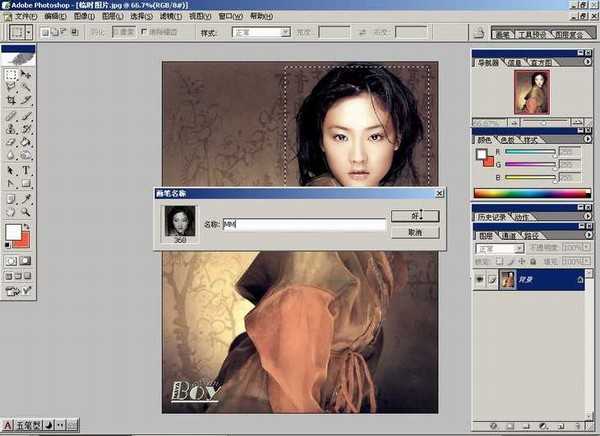
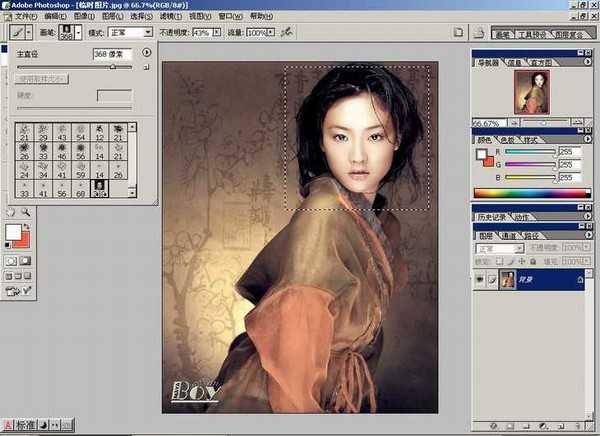
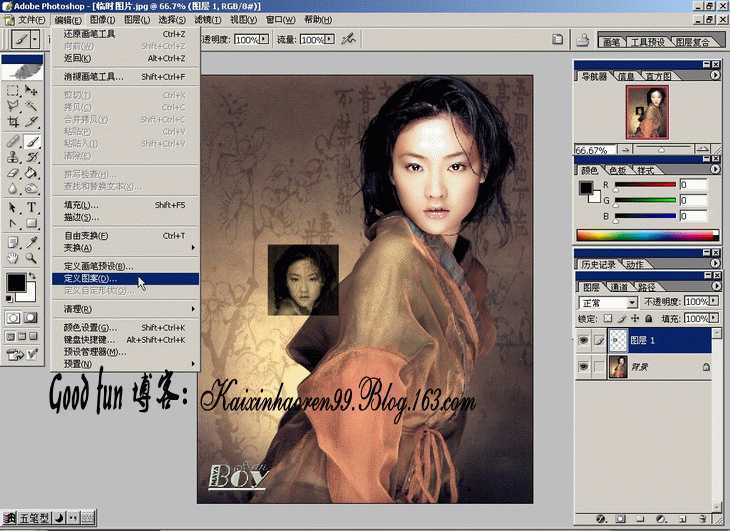
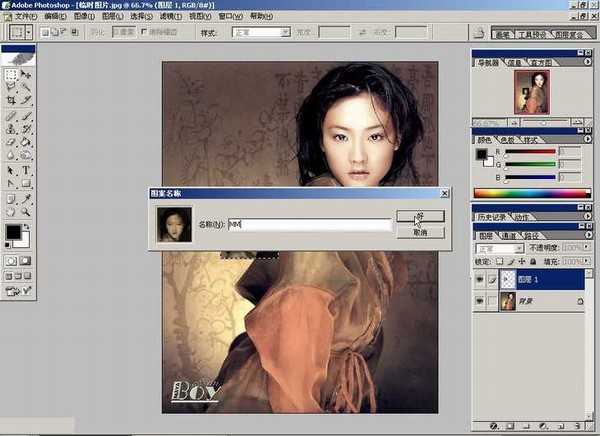
定义画笔的工具可以帮助我们
选区
点击“定义“画笔”进行设置
设置完成
笔刷图表里会看到你刚刚定义的东东
随便画一下
很爽的说
填充


下次启动ps设置才会生效哦
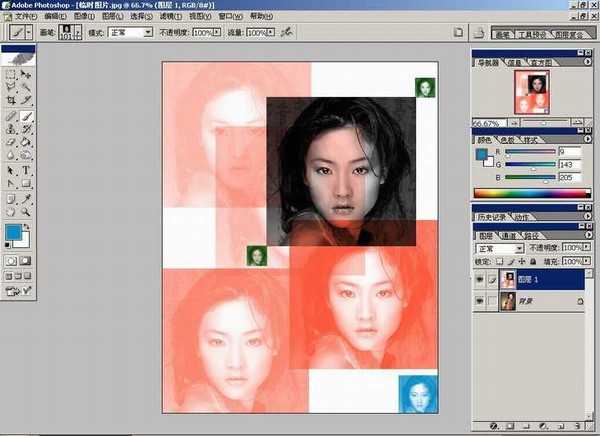
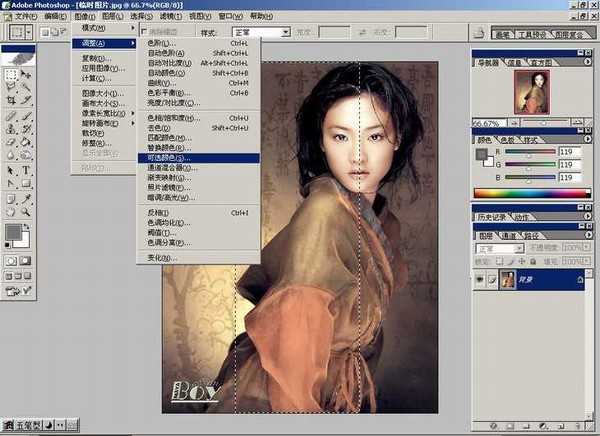
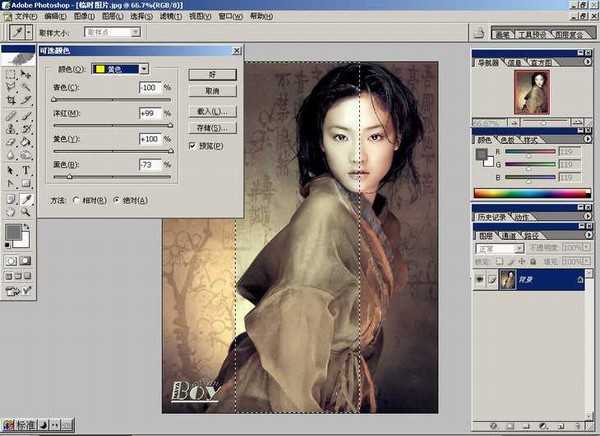
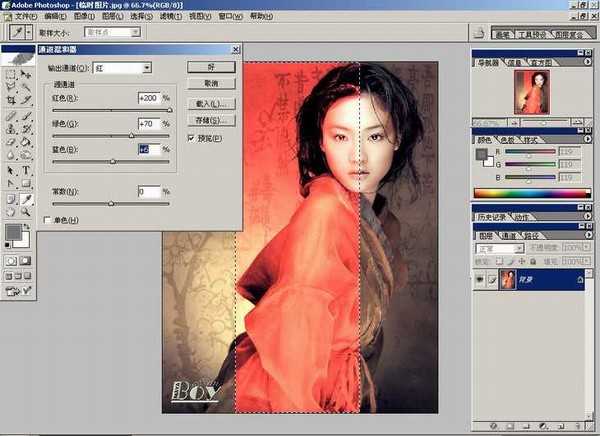
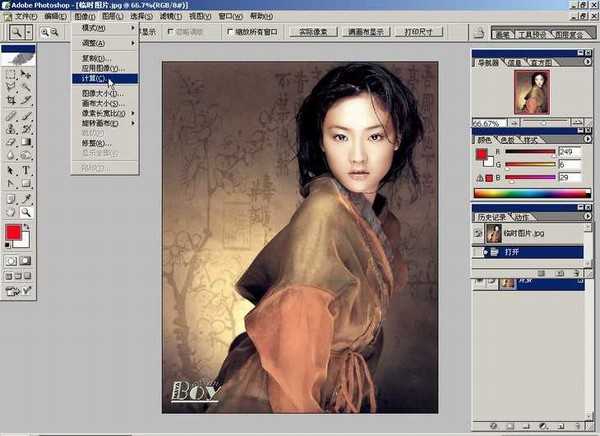
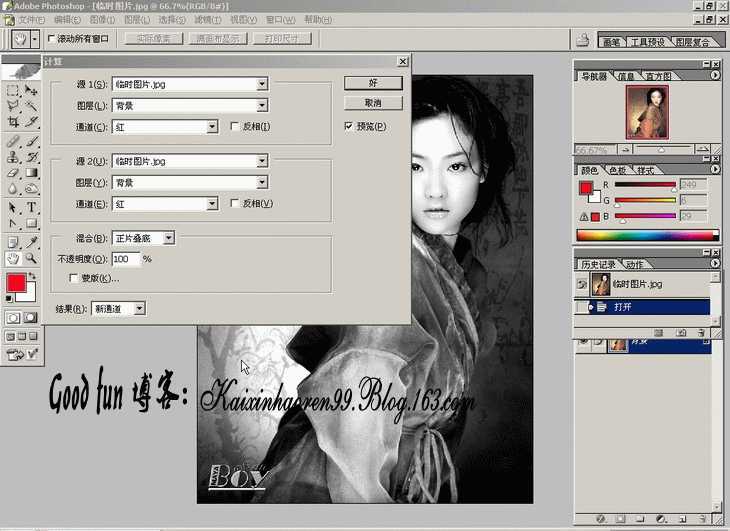
为提供更多色彩处理范围,“多通道”模式特殊提供复色通道
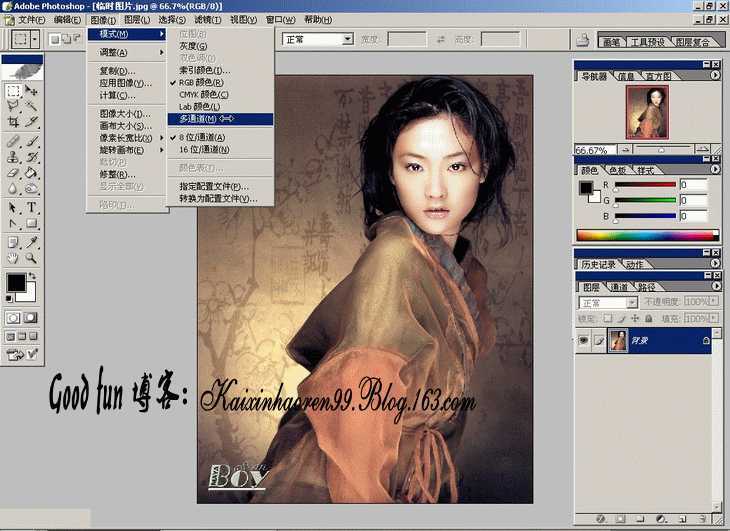
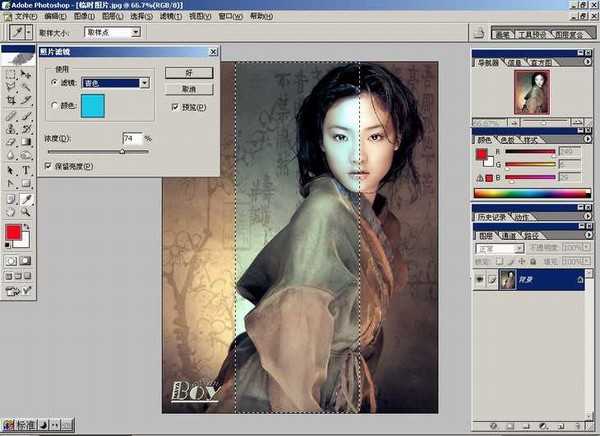
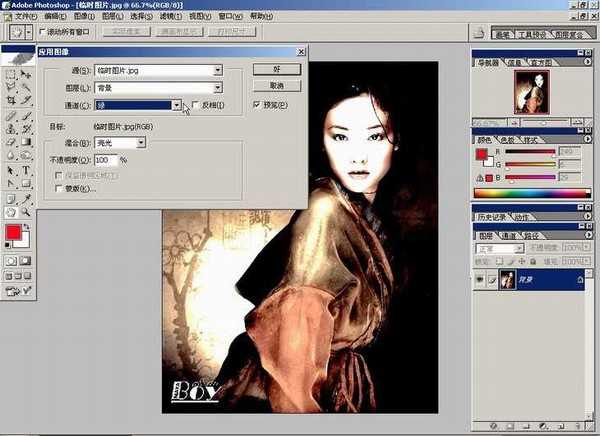
推荐你使用“匹配颜色”命令
图中我们选用了绿色与画面原有色彩进行了匹配
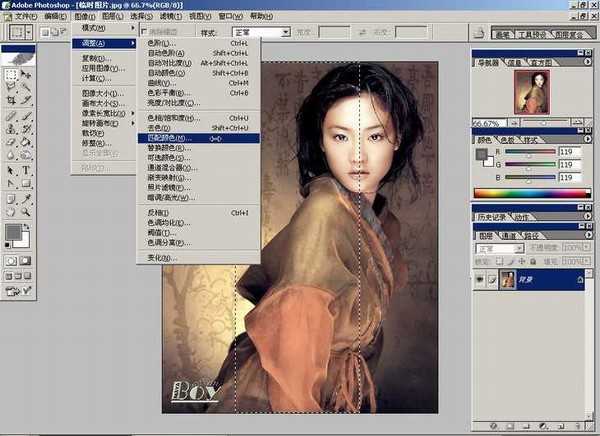
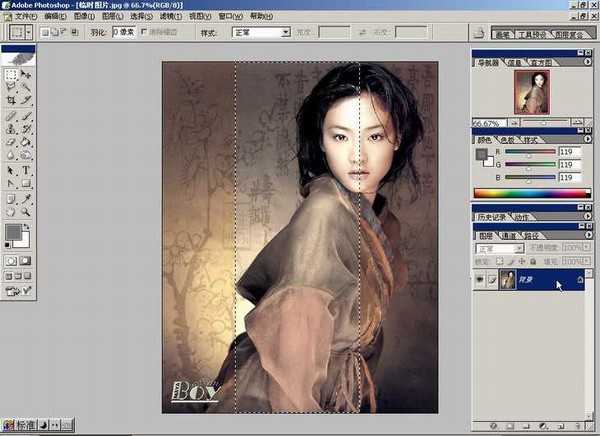
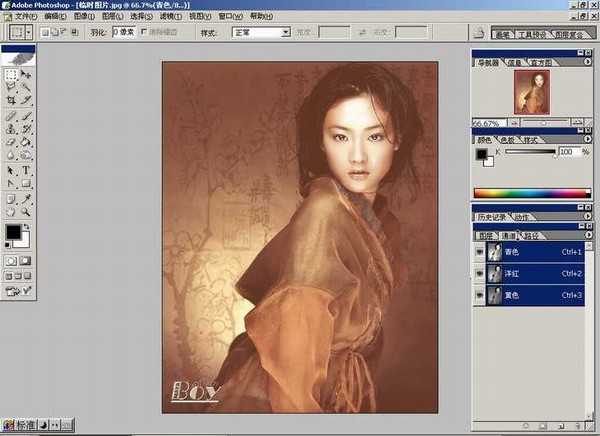
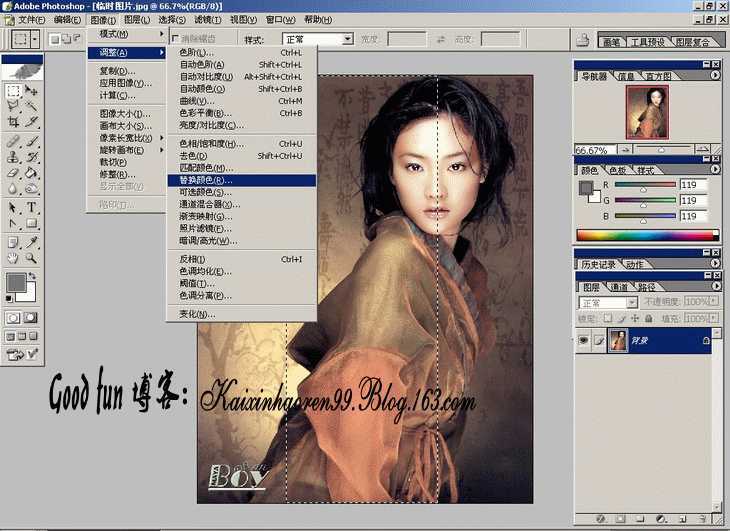
如果我们要彻底改变画面的颜色,使之完全呈现一个主要色相的话就必须使用“替换颜色”的命令拉
这是选择蓝色替换的效果
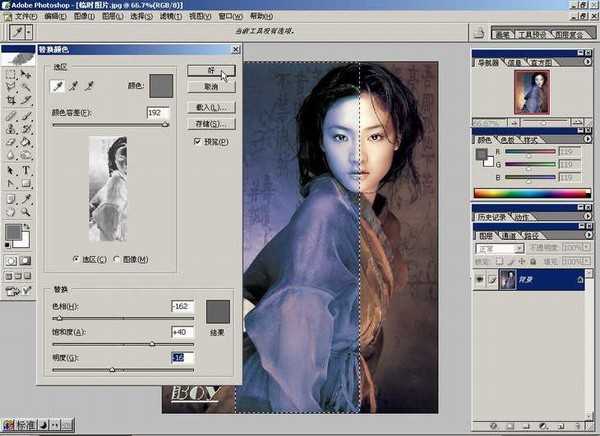
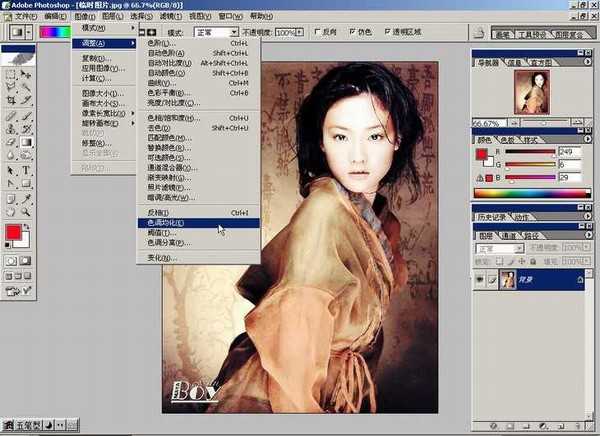
它的特点是颜色丰富细腻,但是饱和度欠缺
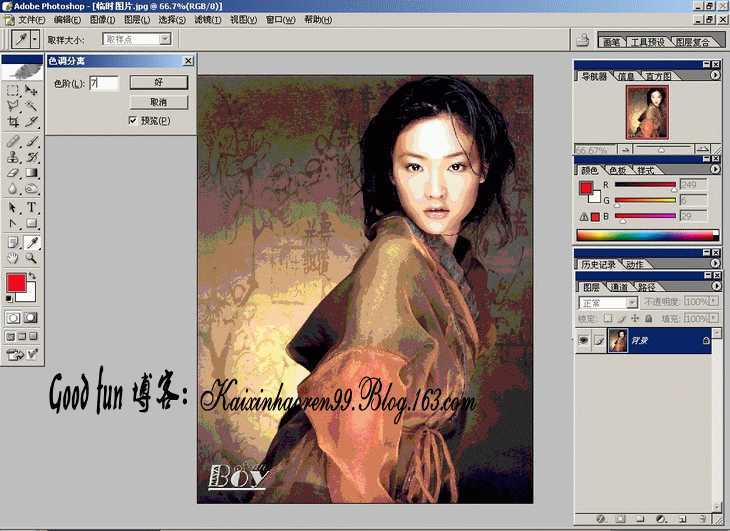
“渐变映射”是指在有效色彩范围内进行渐变过程的操作
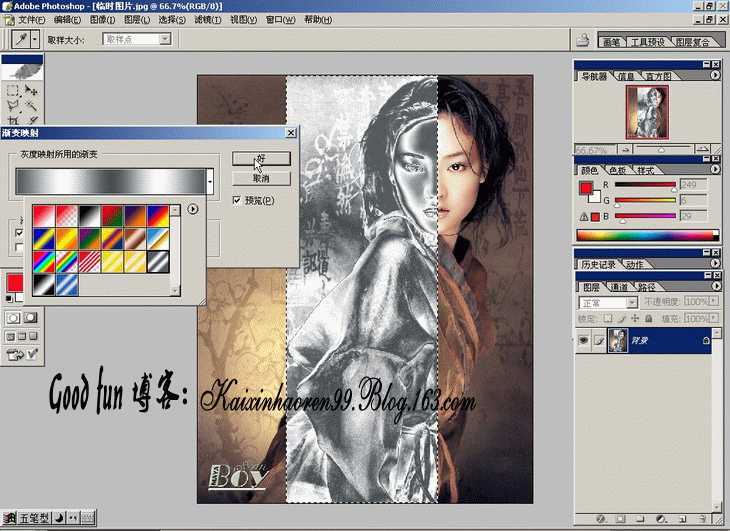
偶觉得用处不大,嘿嘿
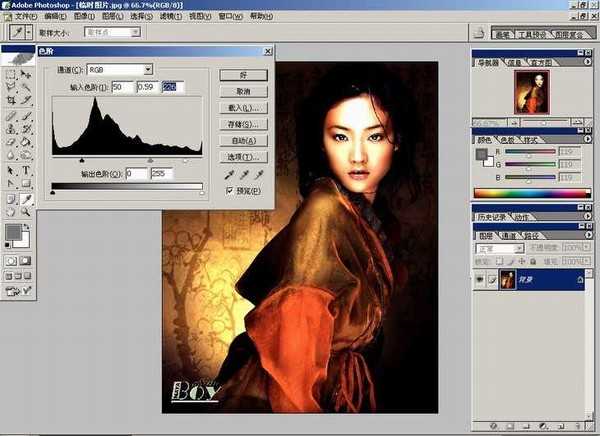
控制黑白显示范围的工具,与其他滤镜配合使用
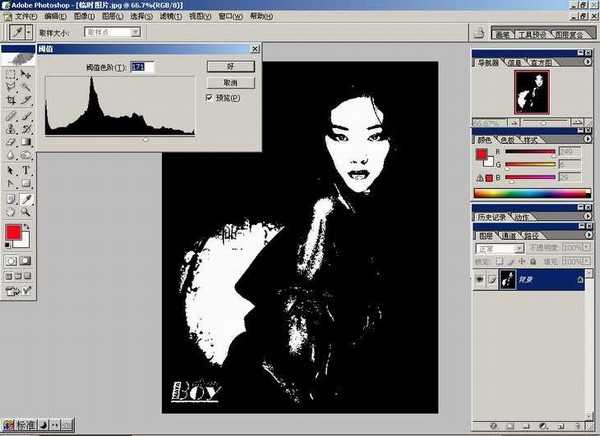
让你自由控制画面的色阶数,既是一种调节手段,也是特效的一种
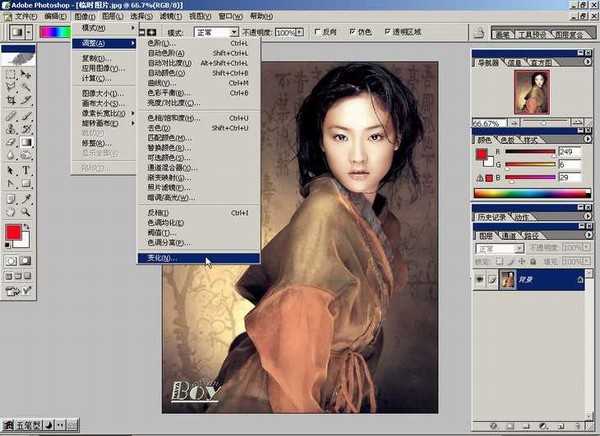
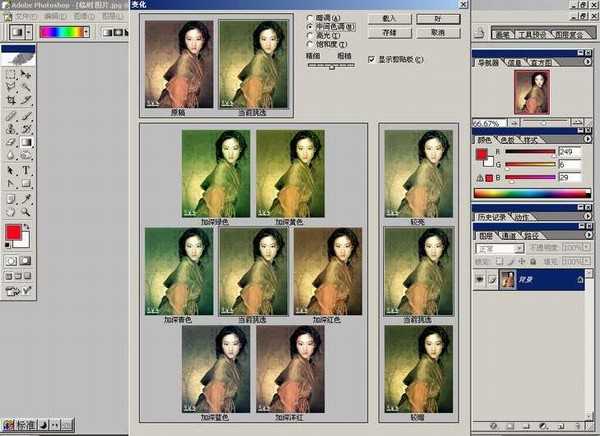
变化对话框
总觉得比手调的细腻滴说!
比较麻烦,偶基本不用的说
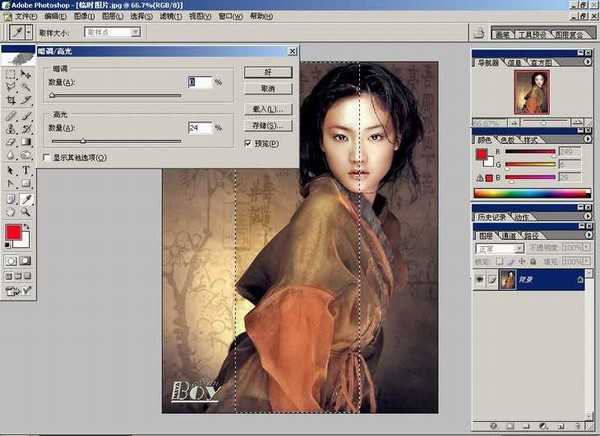
用它可以避免整体调整引起的细节丢失的问题哦
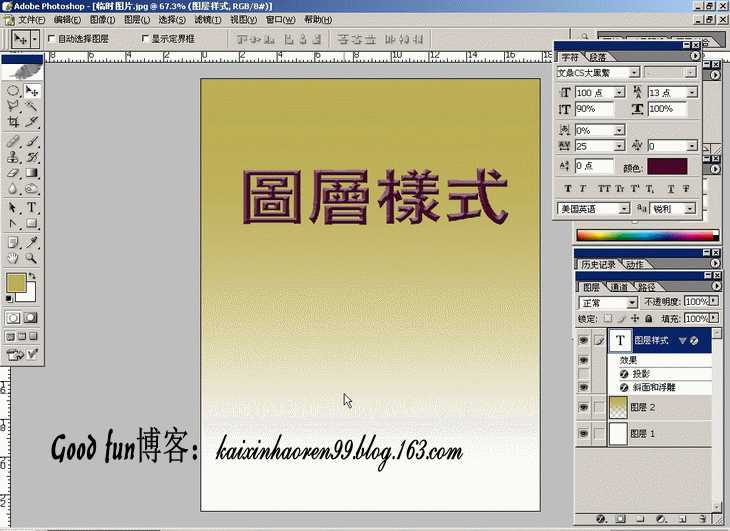
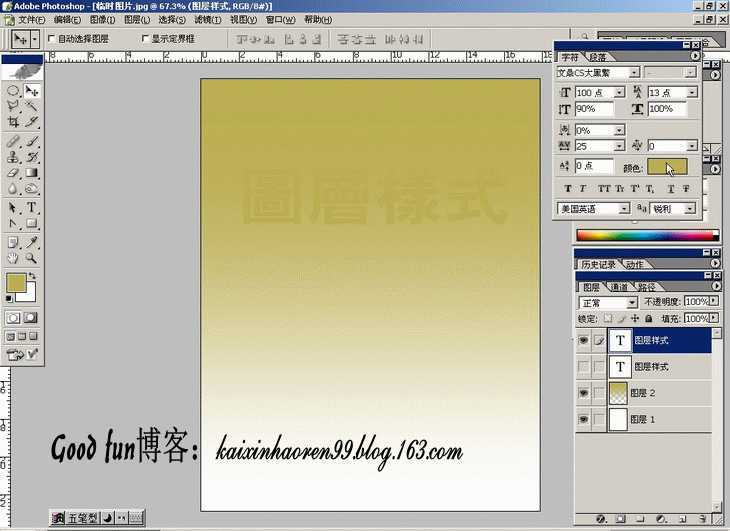
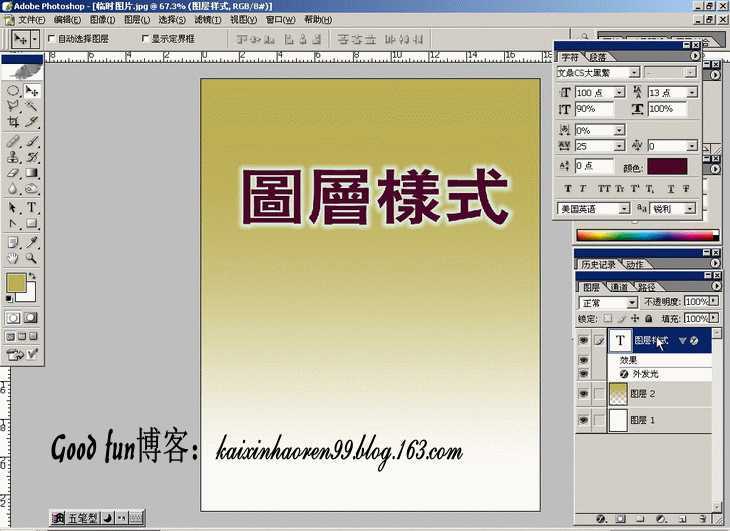
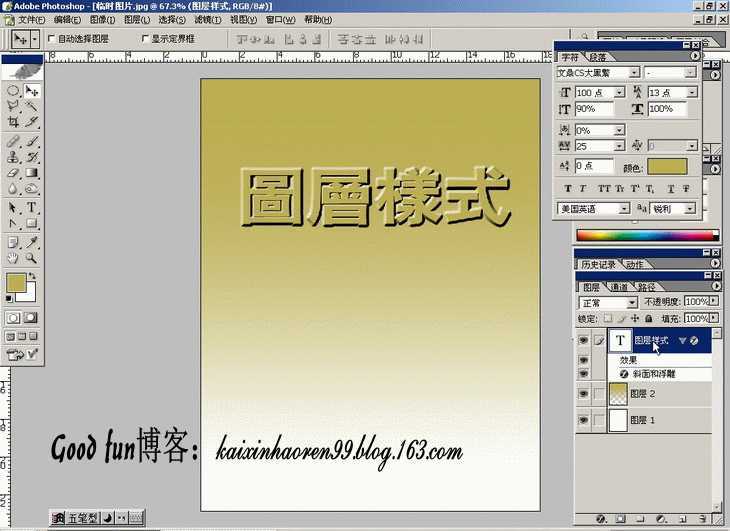
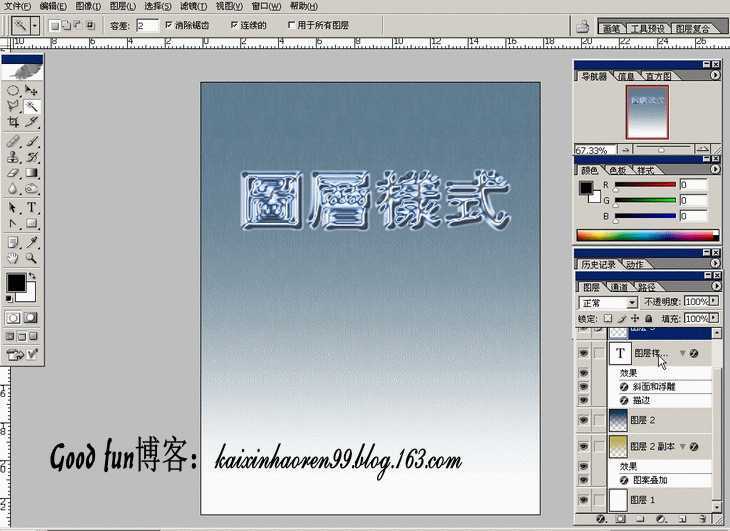
今天,主要介绍“图层”菜单下的“图层样式”,尤其是在文字效果方面的功能
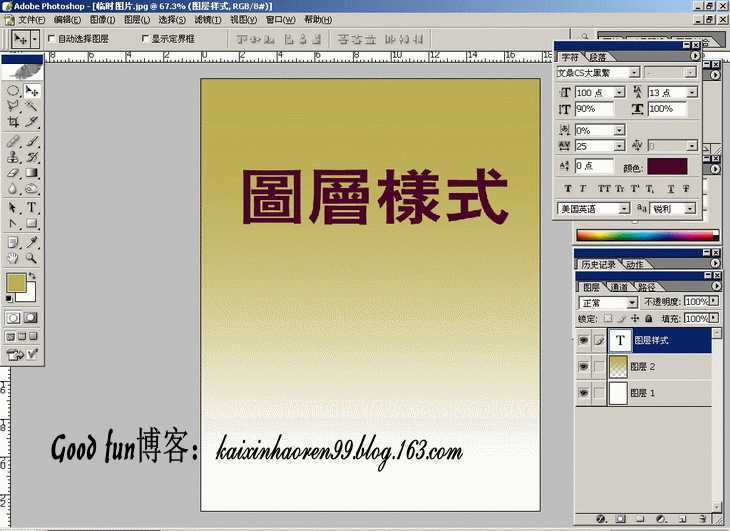
其实,只要你全面地了解了ps“图层样式”的各项命令,就会发现:那些眩目的效果不过如此而已
打开“图层样式”到“混合样式”
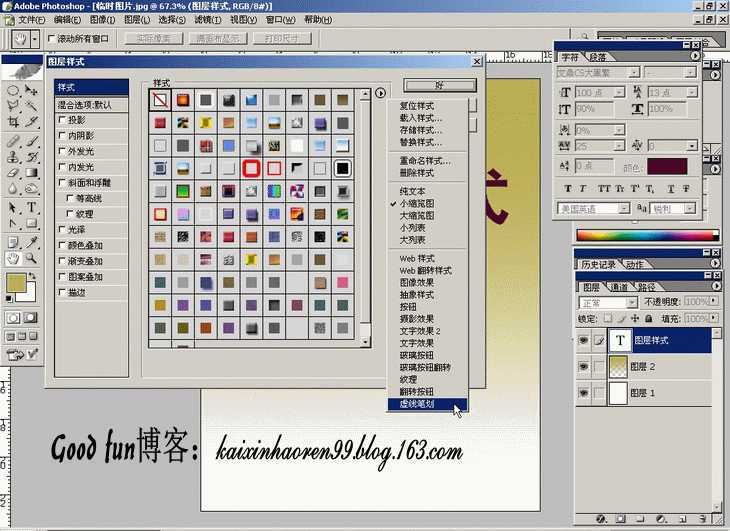
值得说明的是,横多朋友应用图层样式的时候,往往直接扑向“投影”、“浮雕”之类的独立命令。如果你稍加留意,会发现第一选项是“样式”
“样式”是photoshop自带的大量样式动作的合集,点击右上方的圆形扩展箭头,它的下部有大量的现成样式
逐个选中,系统会询问是“覆盖”或者“追加”,一定要选择“追加”
新的样式图标就增加到你的样式面板里面拉
纷纷钟搞定的说!
每当此时,总要感激啊刀比公司想得如此周到
注意:如果你对现成的样式不满意,还可以双击有对号的选项里继续调整参数哦

希望发骂街帖子的朋友高抬贵手的说!
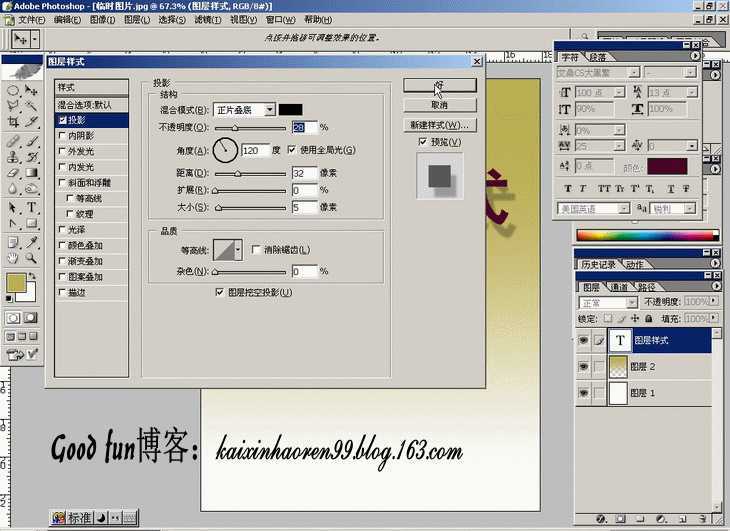
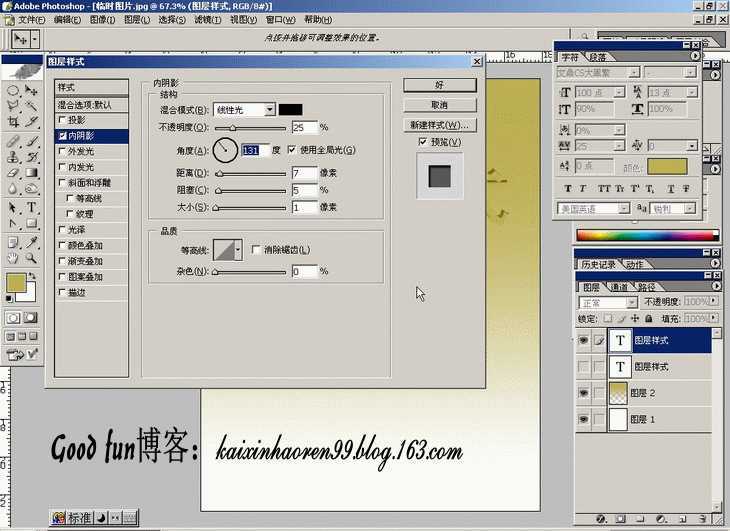
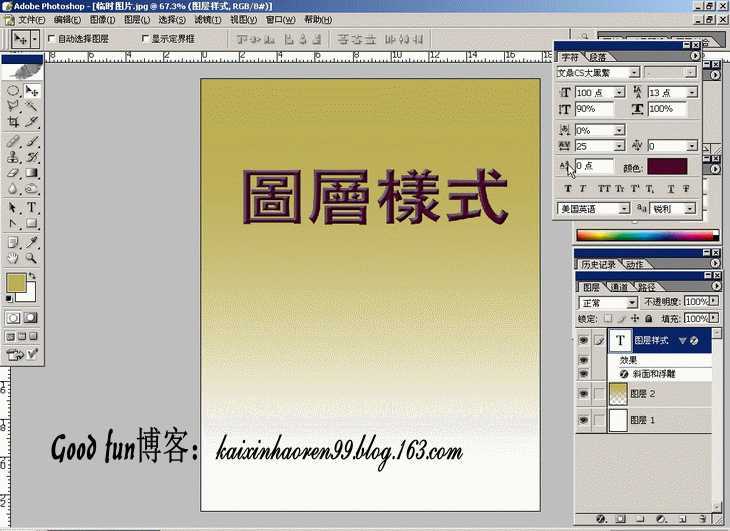
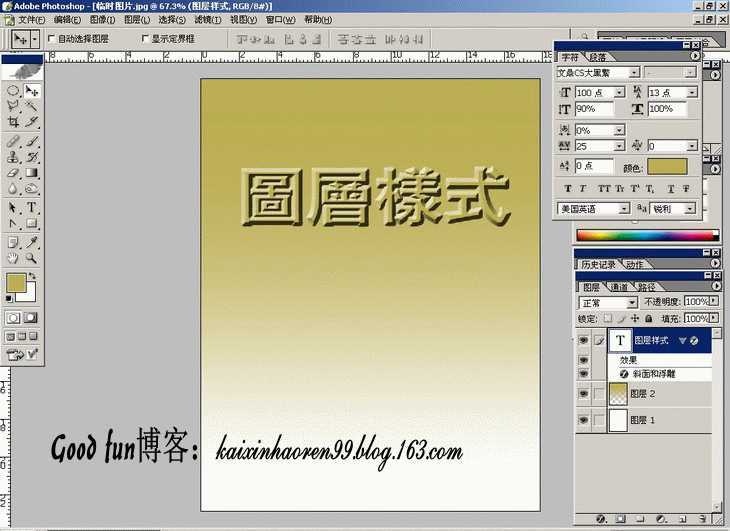
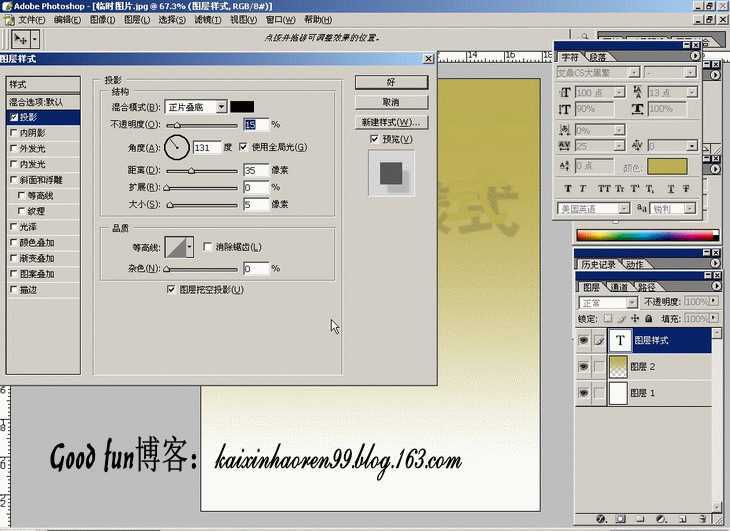
投影
使用样式效果一定要克服习惯于默认值的做法
只有认真调整各项参数,才能取得最佳效果

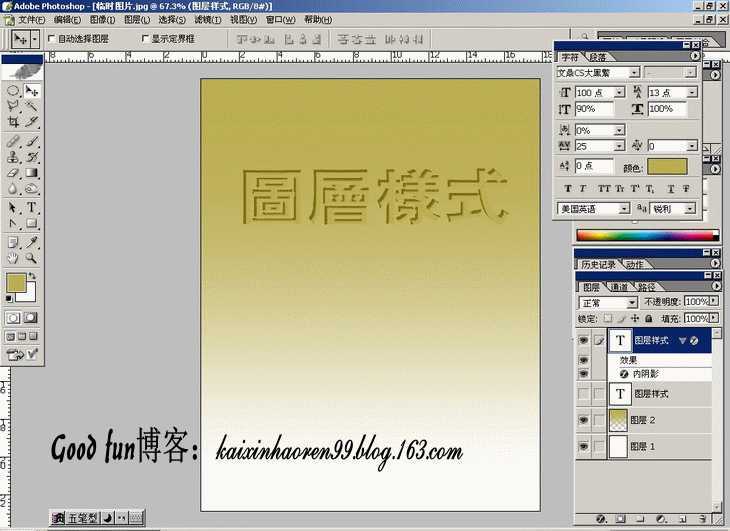
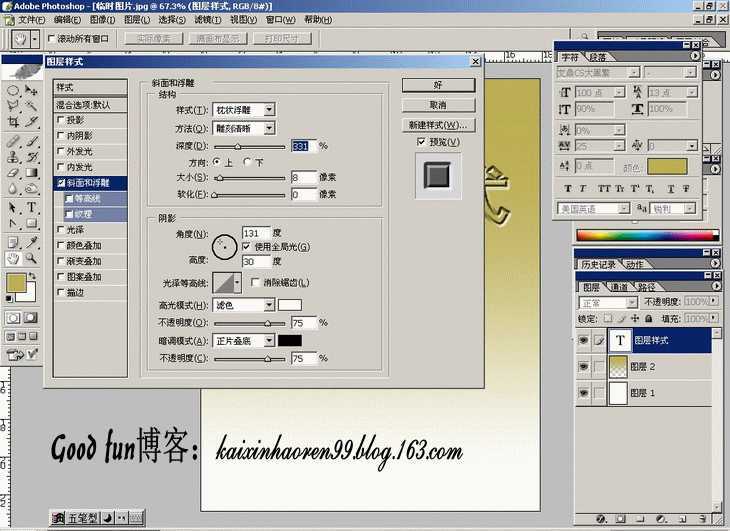
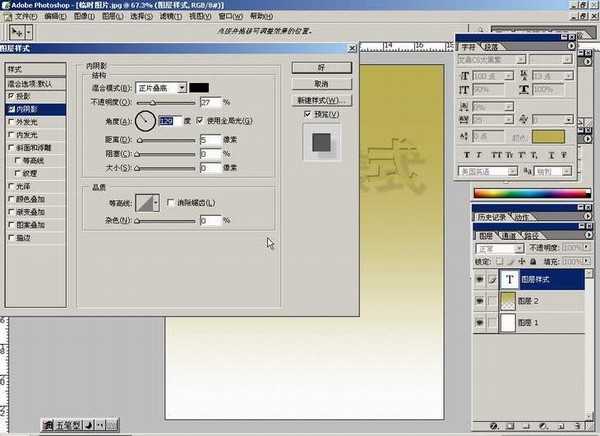
制作凹陷效果必备,那些碎鸡蛋、人体裂痕的制作都少不了它
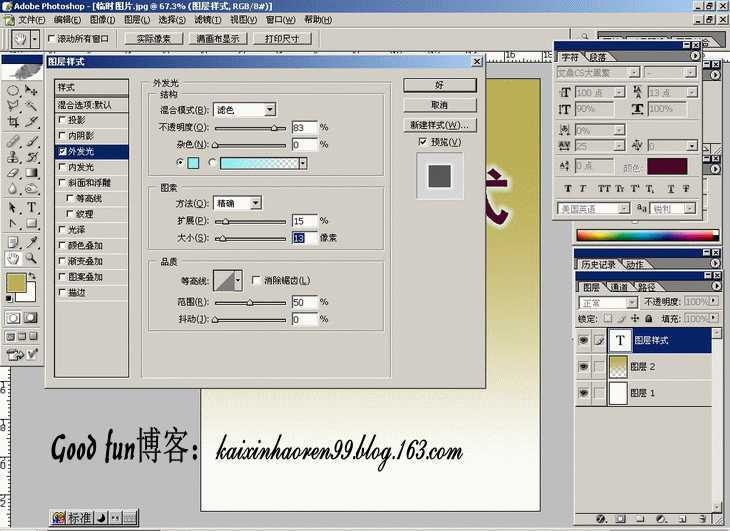
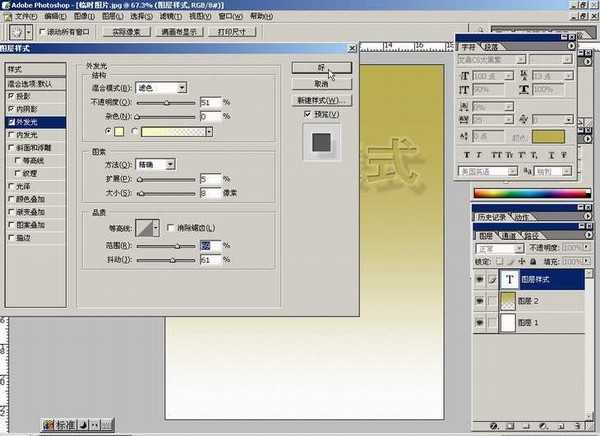
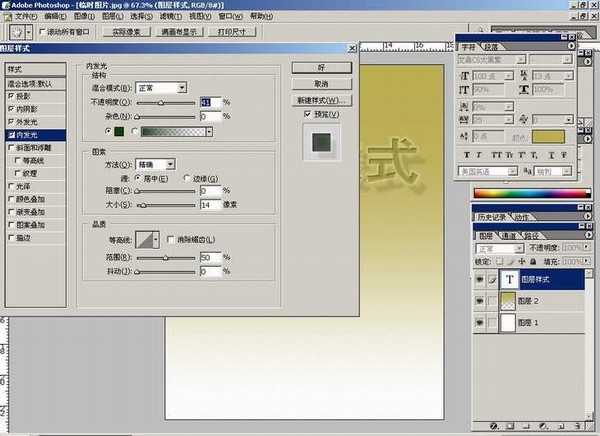
漫射光工具,日景夜景转化时大量应用
光源颜色是可以调整滴
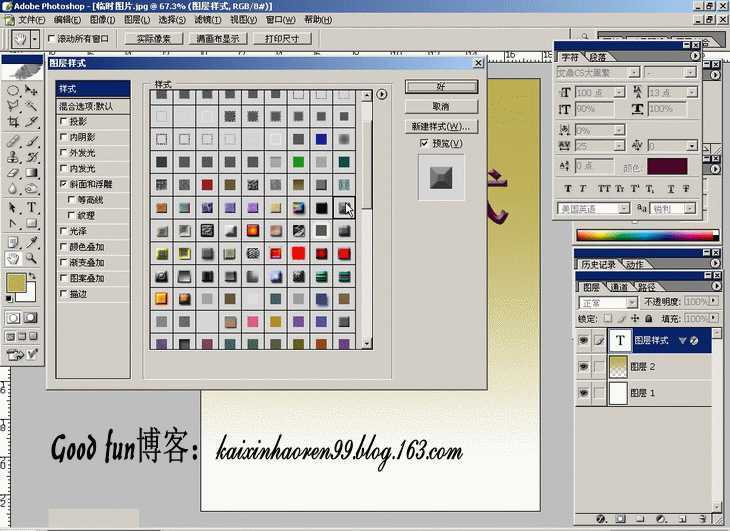
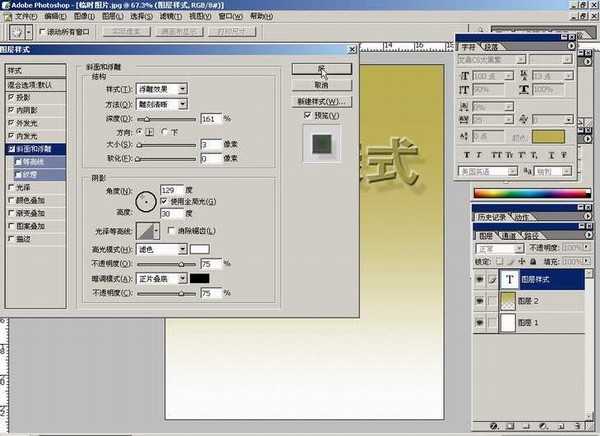
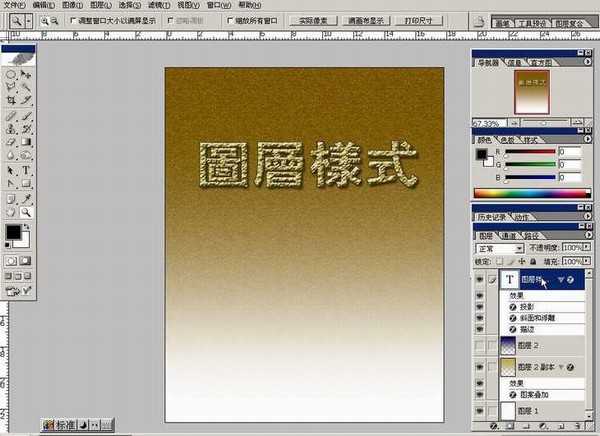
这个大家常用,记得在处理字体是选择“雕刻清晰”就好了
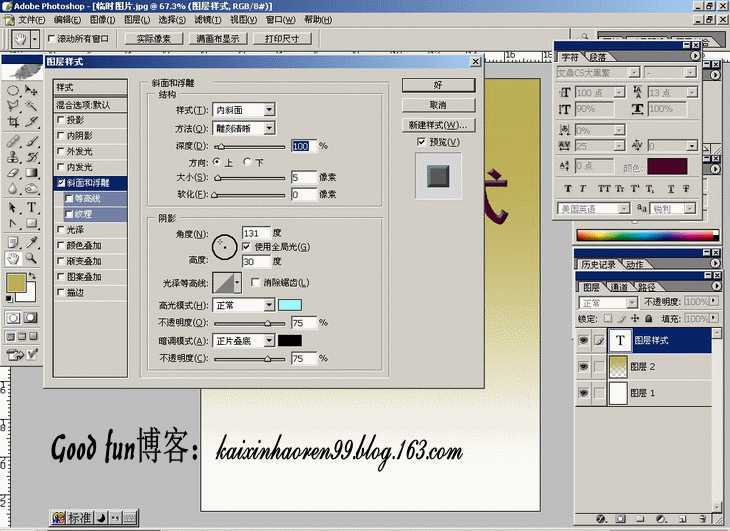
制造隆起
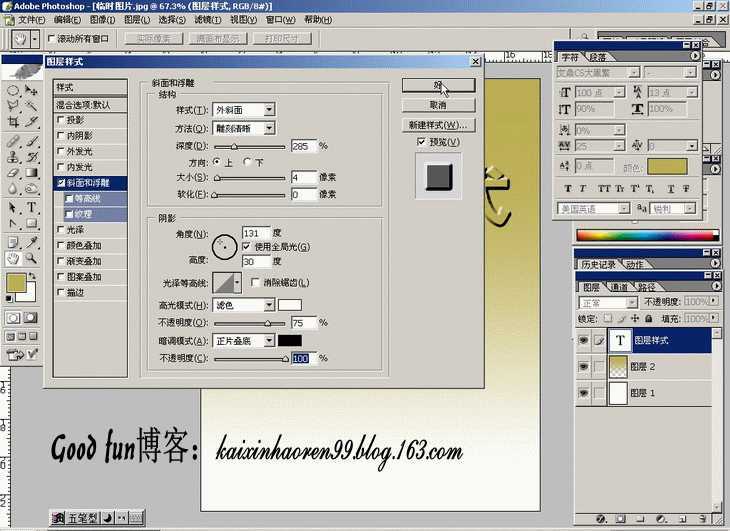
浮雕效果则是在对象内部制造立体感
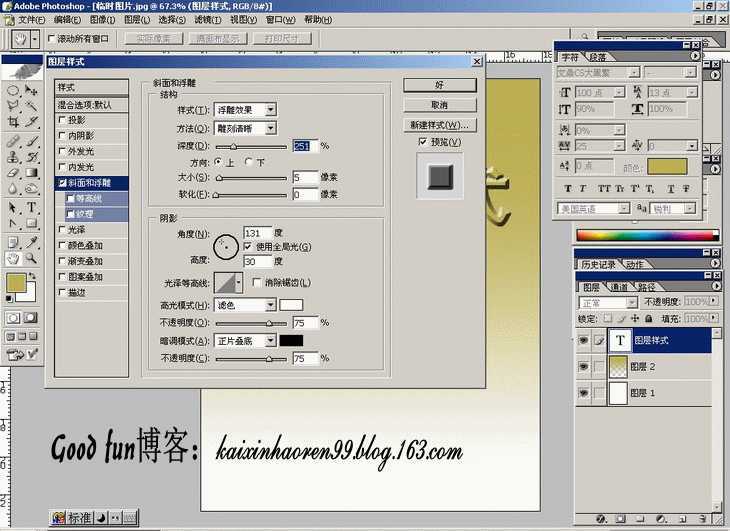
它的最高点与背景相同的说
目前偶直接的想法是介个效果做月饼8错呢

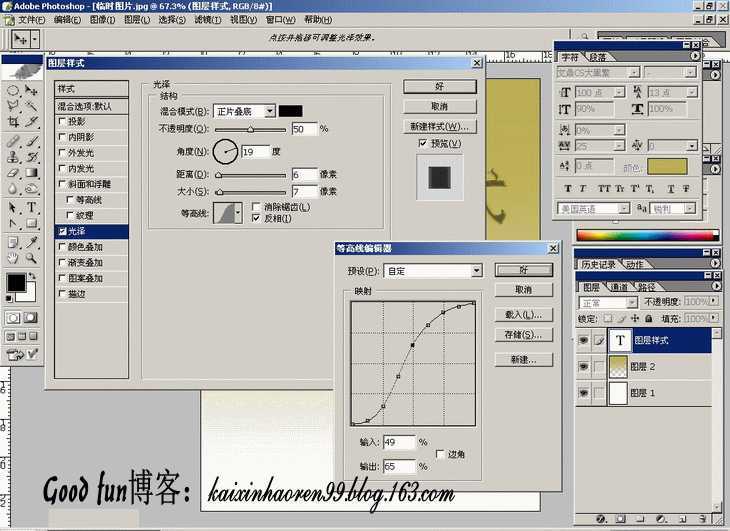
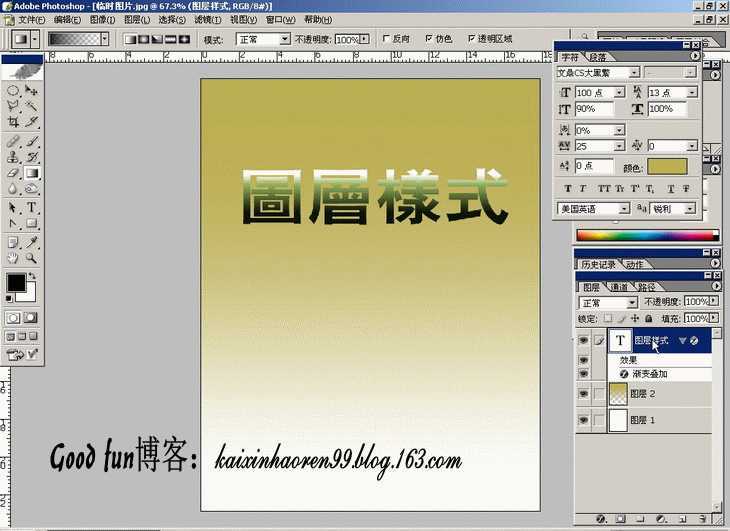
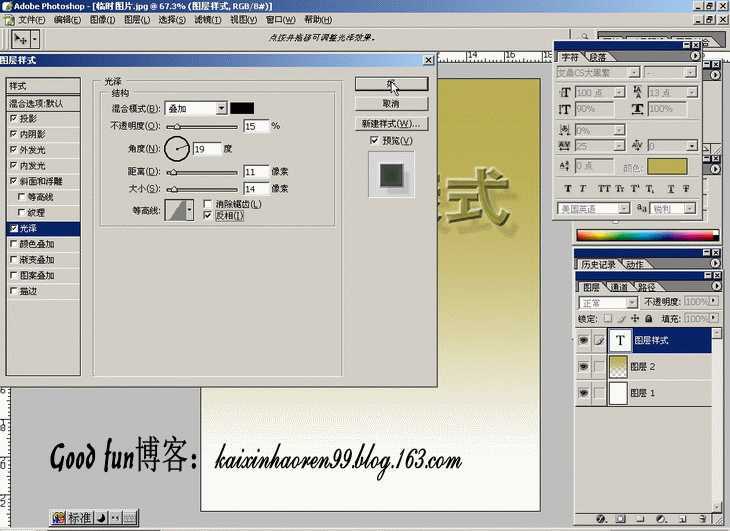
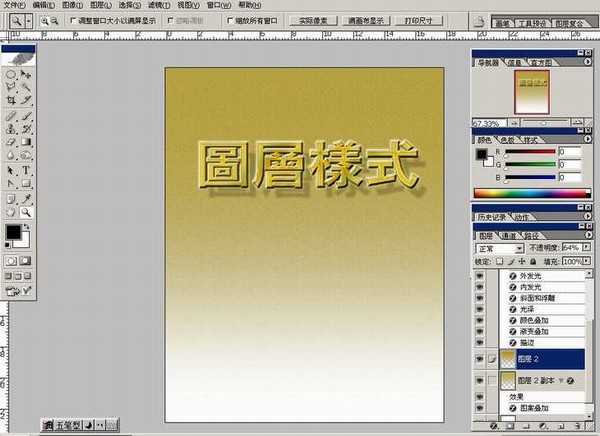
偶觉得不用那么麻烦,把“光泽”样式的参数调整好,配合“渐变”样式完全可以快速解决
如何配合,下面会做了一个实例

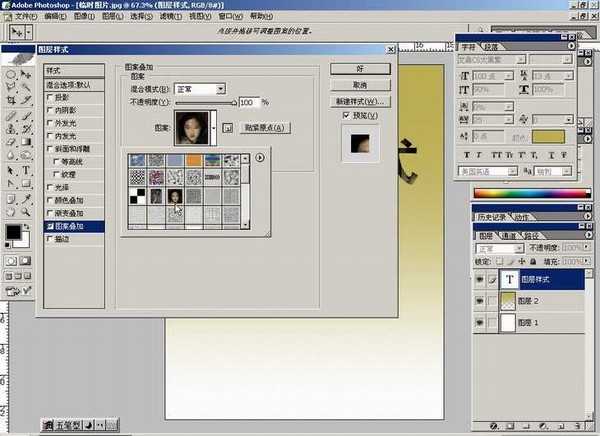
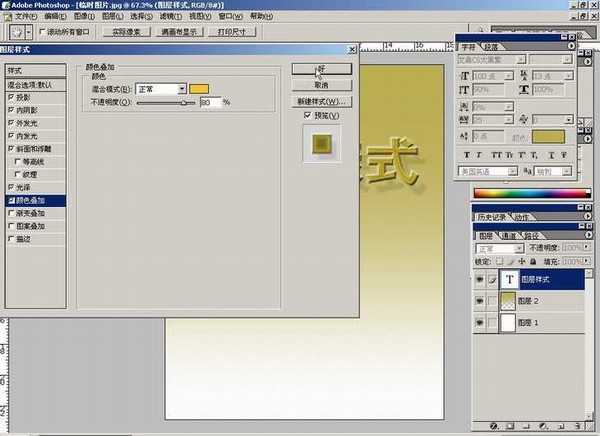
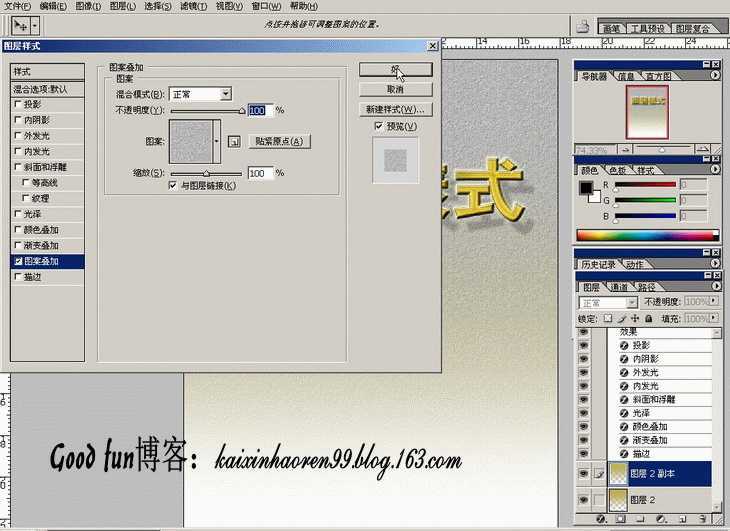
颜色叠加效果
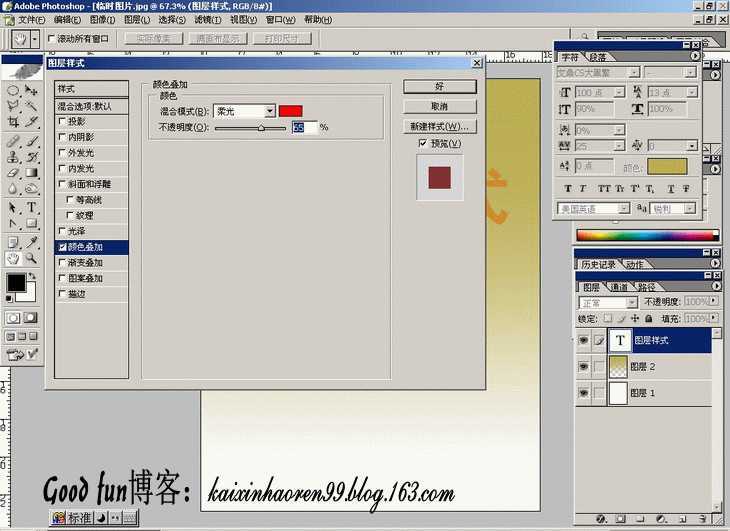
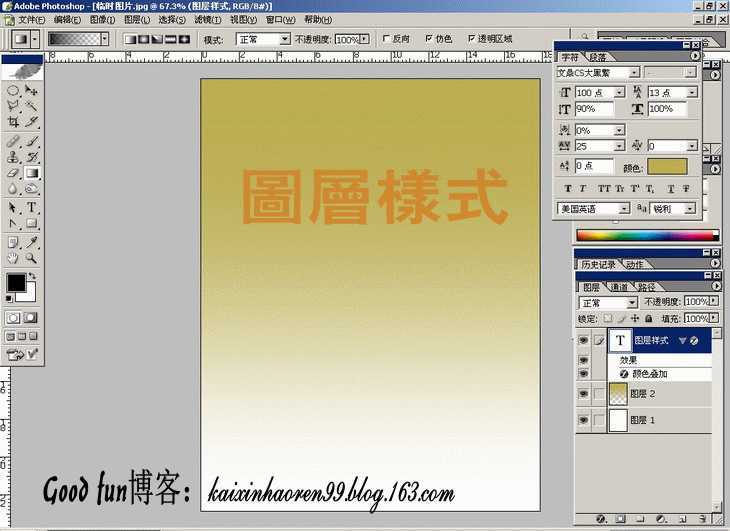
注意右上方那个箭头,里面有宝藏呢
随便选一个效果哦

选择在第一部分偶自定义的那个MM
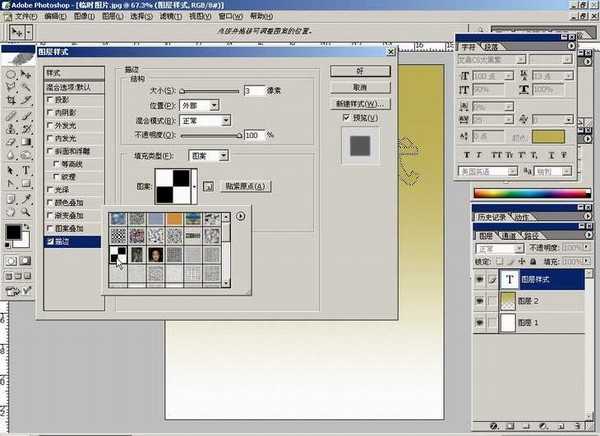
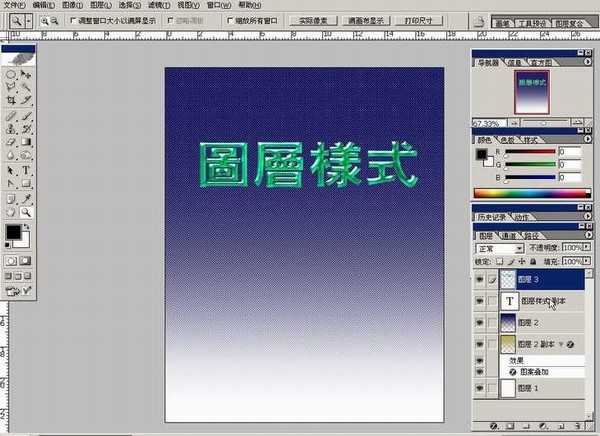
这个描边比“编辑”里面的描边功能强大的说
图案、渐变、颜色都可以描边哦
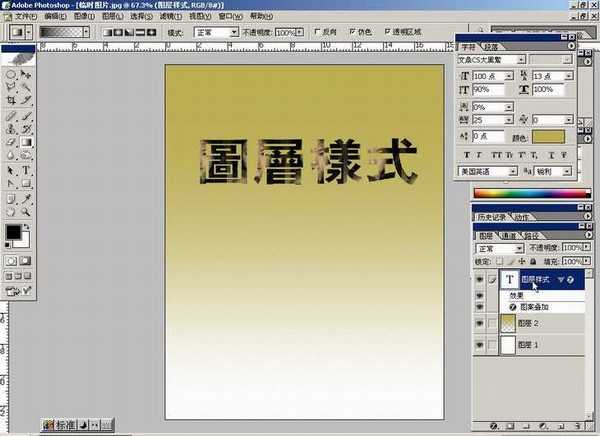
偶用了一个2象素的自定义图案描滴
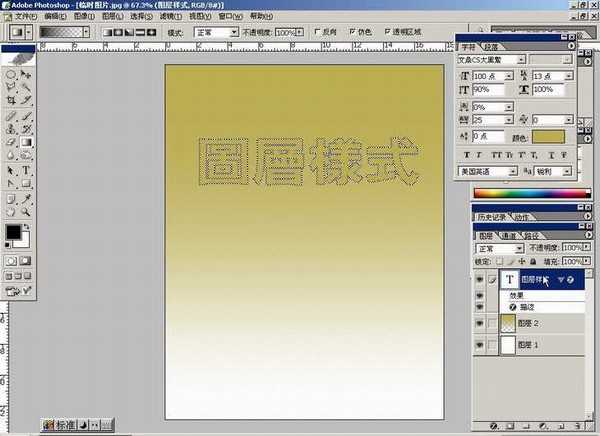

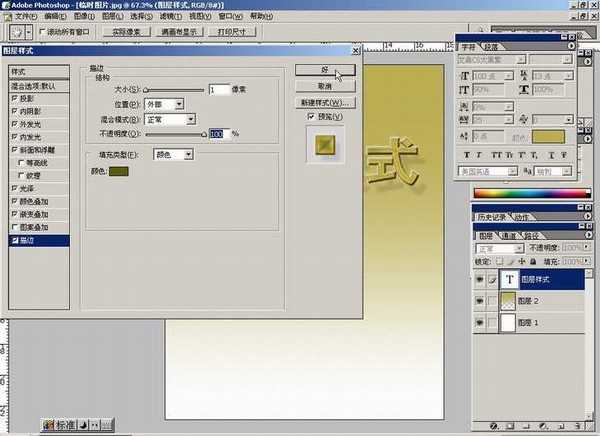

虽然没有什么新意,但问题的关键在于我们单独使用“图层样式”工具是能够完成字体特效滴
一、塑造表现功能:这部分功能从本质上讲取决于使用者造型能力,和软件本身并无太大关系,所涉及的工具也很少,,就其表现力来说,PAINTER的功能远比photoshop强大,所以这部分内偶准备把它放在造型基础来编写
二、图象调整功能:ps在这方面的科学性和系统性是无与伦比滴
三、特效发生功能:图层样式和滤镜以及相关插件使ps的特效发生能力在所有图形图象软件中笑傲江湖
* 文件菜单 *
一般认为文件菜单是最原始和初级的,往往不屑一顾,其实在文件菜单中还有许多我们没有认识的东西,诸如“新建”、“打开”等常用的命令偶就不废话的说
让我们认识一下“浏览”
打开ACDSEE6会严重影响机器的速度和效率,郁闷!
这时,偶不得不重视ps自带的浏览器,“浏览”命令就是打开她的钥匙
有些朋友反映:ps自带的浏览器也不快呀
这是因为缩略图显示设置太高,如果你合理设置,加上它的自由拖曳功能,总体上是比ACDSEE6快而且稳定的
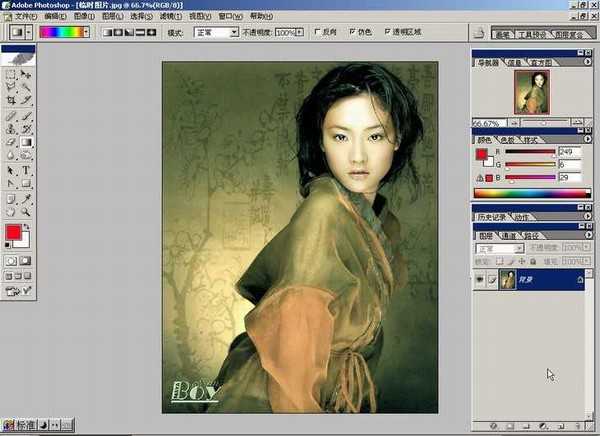
文件浏览器自动弹出,我们拖曳一幅图片作为实例进一步讲解,在论坛上看到很多朋友发的图,不是巨大,就是巨小,在网站发图200KB的制约下,画面的质量往往难以保证
让我们通过“储存为”来解决这个问题
大家一定很熟悉
图象的质量取决于它的分辨率,在新建文件的时候,为保证制作精度一般设置为300B以上
在存储压缩为JPEG文件格式的时候,ps会自动计算并显示压缩后的文件大小
注意储存面版的最下方
需要说明的是,这里显示的数据并不是最终的文件大小
由于WINDOWS系统还要为文件规定位置等属性的信息,所以最后的文件一般比显示的大20K左右
最高级别的存储
完全不必一张张地辛苦
打开“批处理”命令,选择要处理的文件或者文件夹
如图设置一下,看看回发生什么?
再自己调整选项和参数,试试:
编辑菜单中的大多数工具,大家是非常熟练的
这里只拣几个重点说说:
描边:
这是非常实用的一个前景色工具,以给整个画面加框为例
CTRL+A全选之后,选择“描边”命令
设定描边的宽度、颜色、位置(位置不同效果很不一样的说)
完成
“描边”不仅可以绘制不同颜色、宽度的直线,只要是选取所至,任何形状照描不误!
选择填充命令后,会弹出如图面版
设置图案,可以是ps默认的,更多是我们自己定义的图案
填充后的效果(按CTRL+A在看)
定义画笔的工具可以帮助我们
选区
点击“定义“画笔”进行设置
设置完成
笔刷图表里会看到你刚刚定义的东东
随便画一下
很爽的说
填充
下次启动ps设置才会生效哦
为提供更多色彩处理范围,“多通道”模式特殊提供复色通道
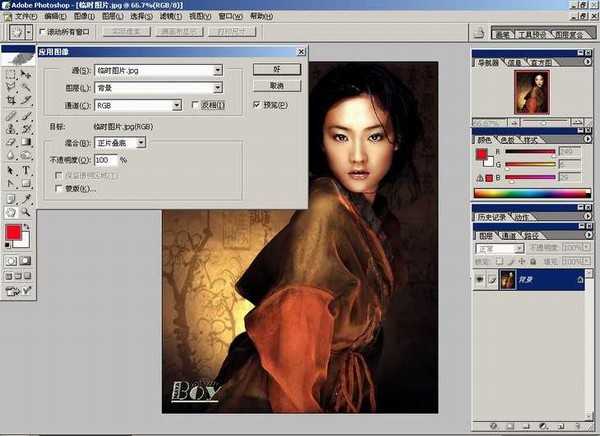
推荐你使用“匹配颜色”命令
图中我们选用了绿色与画面原有色彩进行了匹配
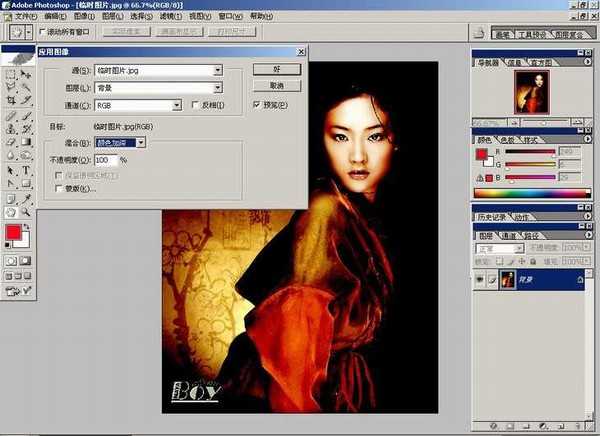
如果我们要彻底改变画面的颜色,使之完全呈现一个主要色相的话就必须使用“替换颜色”的命令拉
这是选择蓝色替换的效果
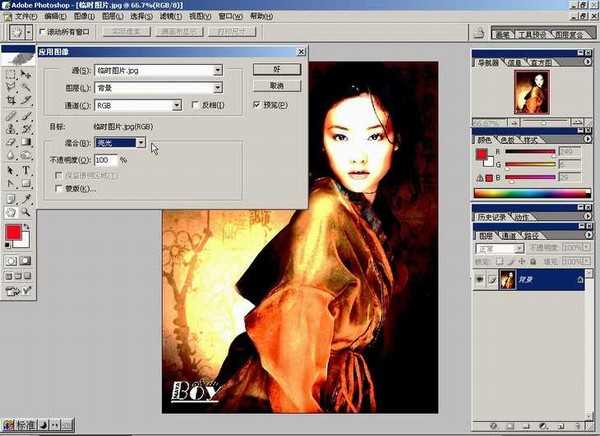
它的特点是颜色丰富细腻,但是饱和度欠缺
“渐变映射”是指在有效色彩范围内进行渐变过程的操作
偶觉得用处不大,嘿嘿
控制黑白显示范围的工具,与其他滤镜配合使用
让你自由控制画面的色阶数,既是一种调节手段,也是特效的一种
变化对话框
总觉得比手调的细腻滴说!
比较麻烦,偶基本不用的说
用它可以避免整体调整引起的细节丢失的问题哦
今天,主要介绍“图层”菜单下的“图层样式”,尤其是在文字效果方面的功能
其实,只要你全面地了解了ps“图层样式”的各项命令,就会发现:那些眩目的效果不过如此而已
打开“图层样式”到“混合样式”
值得说明的是,横多朋友应用图层样式的时候,往往直接扑向“投影”、“浮雕”之类的独立命令。如果你稍加留意,会发现第一选项是“样式”
“样式”是photoshop自带的大量样式动作的合集,点击右上方的圆形扩展箭头,它的下部有大量的现成样式
逐个选中,系统会询问是“覆盖”或者“追加”,一定要选择“追加”
新的样式图标就增加到你的样式面板里面拉
纷纷钟搞定的说!
每当此时,总要感激啊刀比公司想得如此周到
注意:如果你对现成的样式不满意,还可以双击有对号的选项里继续调整参数哦
希望发骂街帖子的朋友高抬贵手的说!
投影
使用样式效果一定要克服习惯于默认值的做法
只有认真调整各项参数,才能取得最佳效果
制作凹陷效果必备,那些碎鸡蛋、人体裂痕的制作都少不了它
漫射光工具,日景夜景转化时大量应用
光源颜色是可以调整滴
这个大家常用,记得在处理字体是选择“雕刻清晰”就好了
制造隆起
浮雕效果则是在对象内部制造立体感
它的最高点与背景相同的说
目前偶直接的想法是介个效果做月饼8错呢
偶觉得不用那么麻烦,把“光泽”样式的参数调整好,配合“渐变”样式完全可以快速解决
如何配合,下面会做了一个实例
颜色叠加效果
注意右上方那个箭头,里面有宝藏呢
随便选一个效果哦
选择在第一部分偶自定义的那个MM
这个描边比“编辑”里面的描边功能强大的说
图案、渐变、颜色都可以描边哦
偶用了一个2象素的自定义图案描滴
虽然没有什么新意,但问题的关键在于我们单独使用“图层样式”工具是能够完成字体特效滴
标签:
PS基础教程
帝王谷资源网 Design By www.wdxyy.com
广告合作:本站广告合作请联系QQ:858582 申请时备注:广告合作(否则不回)
免责声明:本站文章均来自网站采集或用户投稿,网站不提供任何软件下载或自行开发的软件! 如有用户或公司发现本站内容信息存在侵权行为,请邮件告知! 858582#qq.com
免责声明:本站文章均来自网站采集或用户投稿,网站不提供任何软件下载或自行开发的软件! 如有用户或公司发现本站内容信息存在侵权行为,请邮件告知! 858582#qq.com
帝王谷资源网 Design By www.wdxyy.com
暂无评论...
更新日志
2025年02月19日
2025年02月19日
- 小骆驼-《草原狼2(蓝光CD)》[原抓WAV+CUE]
- 群星《欢迎来到我身边 电影原声专辑》[320K/MP3][105.02MB]
- 群星《欢迎来到我身边 电影原声专辑》[FLAC/分轨][480.9MB]
- 雷婷《梦里蓝天HQⅡ》 2023头版限量编号低速原抓[WAV+CUE][463M]
- 群星《2024好听新歌42》AI调整音效【WAV分轨】
- 王思雨-《思念陪着鸿雁飞》WAV
- 王思雨《喜马拉雅HQ》头版限量编号[WAV+CUE]
- 李健《无时无刻》[WAV+CUE][590M]
- 陈奕迅《酝酿》[WAV分轨][502M]
- 卓依婷《化蝶》2CD[WAV+CUE][1.1G]
- 群星《吉他王(黑胶CD)》[WAV+CUE]
- 齐秦《穿乐(穿越)》[WAV+CUE]
- 发烧珍品《数位CD音响测试-动向效果(九)》【WAV+CUE】
- 邝美云《邝美云精装歌集》[DSF][1.6G]
- 吕方《爱一回伤一回》[WAV+CUE][454M]